Years ago, I made my first top down raglan sweater. From that point on, I vowed to never go back to seaming sweaters because I. Hated. Seaming. Why bother with it when you can knit a sweater all in one piece?
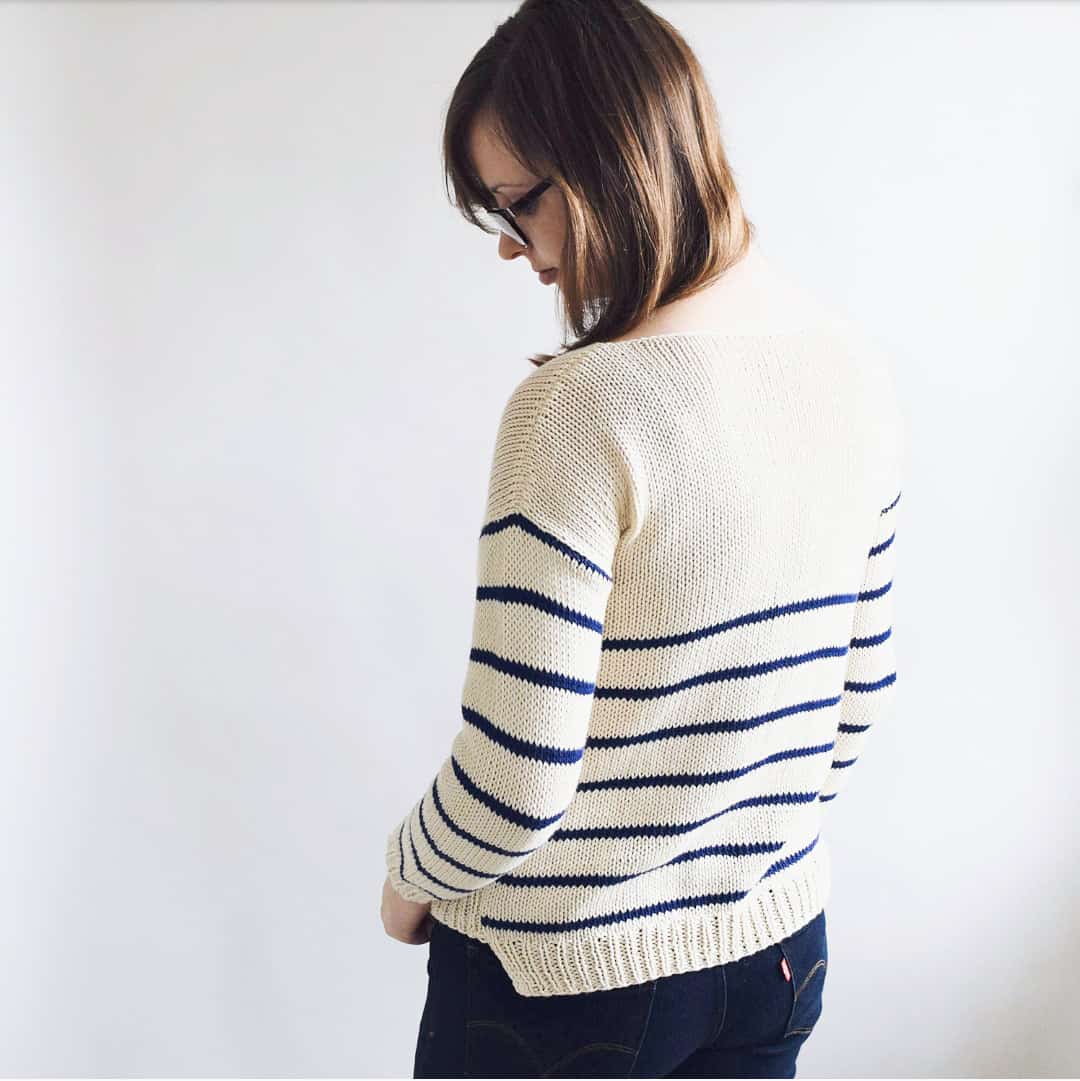
Enter We Are Knitters and their beautiful Abruzzo Sweater kit. It’s simple and classic and completely my style. I thought I’d give it a whirl and worry about the seaming later. That’ll be future Destiny’s problem.
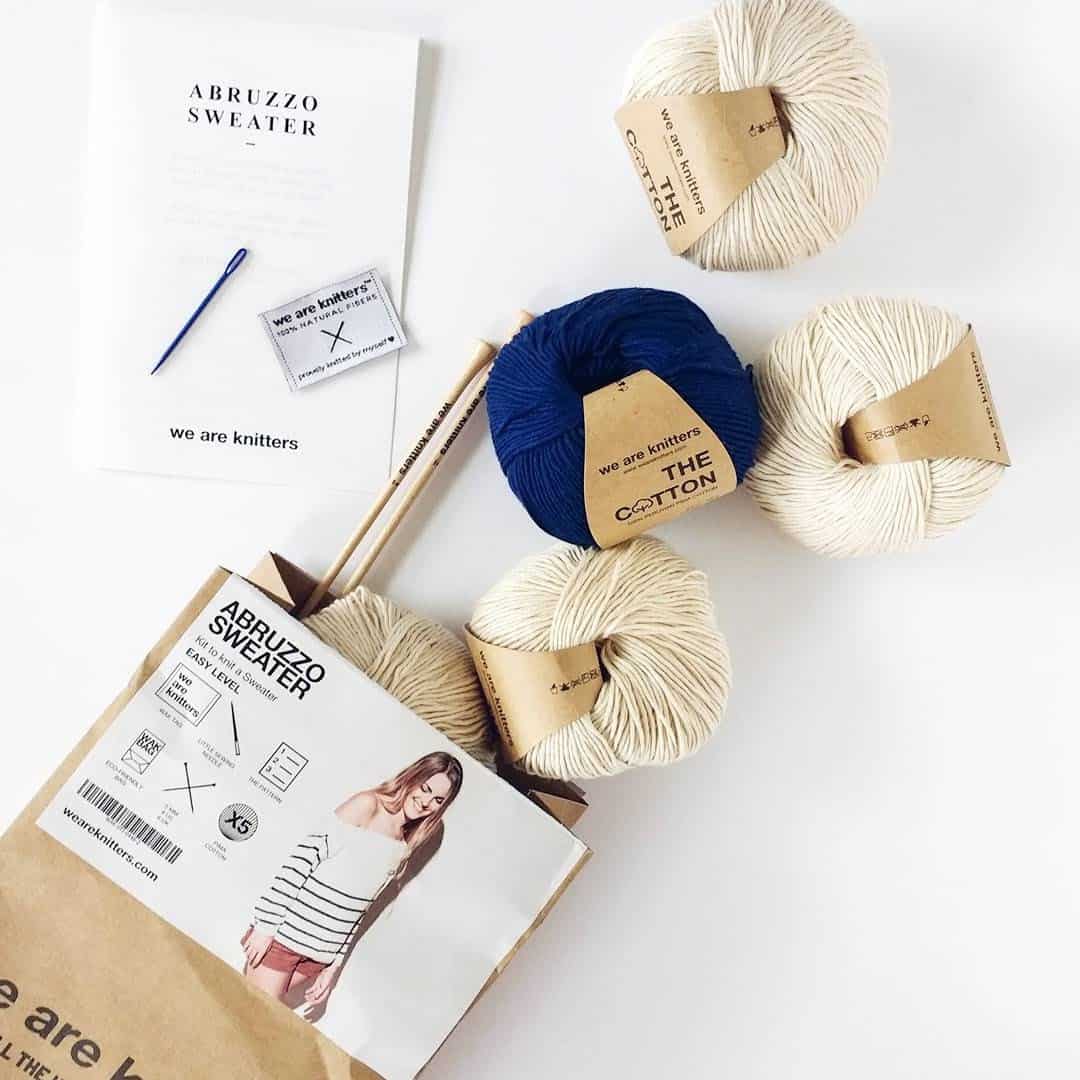
You guys, this kit has everything. The pattern, wooden needles (with a nice sharp point), a darning needle, an adorable garment tag (that I still haven’t gotten around to sewing on my sweater) and a sweater’s worth of soft drapey 100% cotton.
The knitting projects I love most are ones I don’t have to think too much about. I love unwinding after a long day with a glass of wine, my knitting, conversation with my husband and a little knit-flixing. I like to just glance at a pattern, see what goes where, and relax with simple stitches that eventually turn into something beautiful. This is definitely one of those projects.
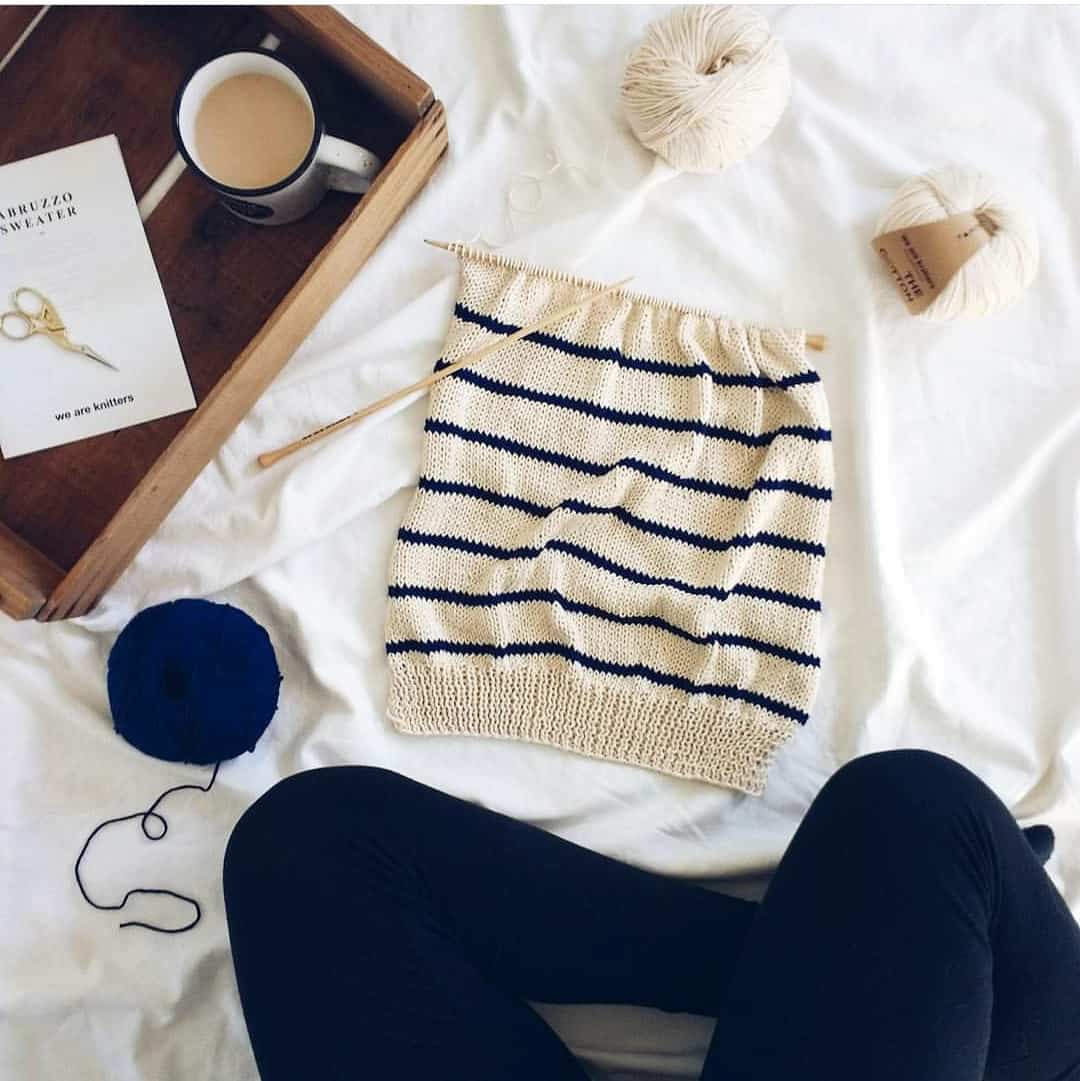
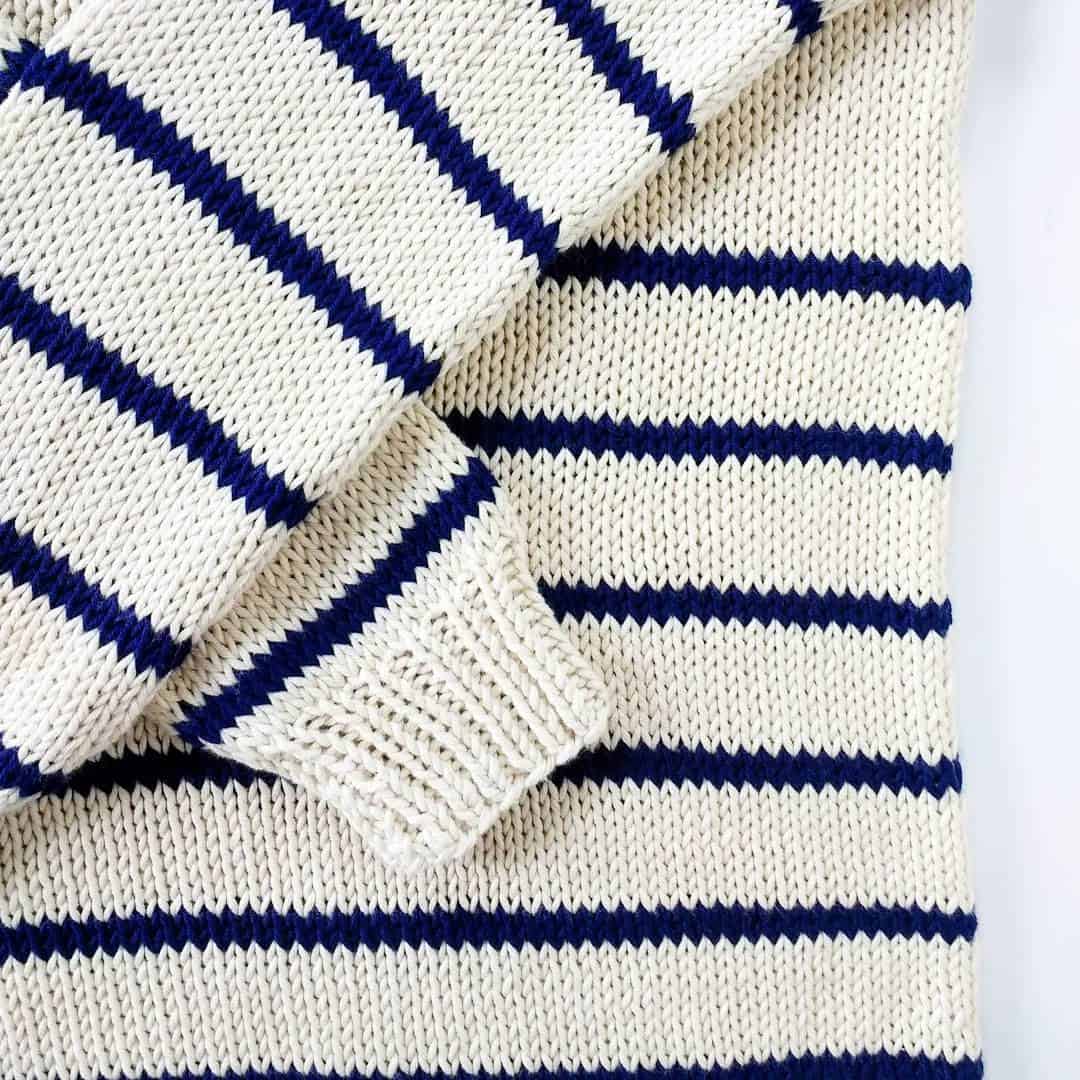
The best part about knitting a sweater in pieces is being able to bite off just a little bit at a time. I loved throwing a sleeve in my bag to work on while my little one played at a play group, without having to lug an entire sweater around. Piece by piece, it will be finished and ready to seam.
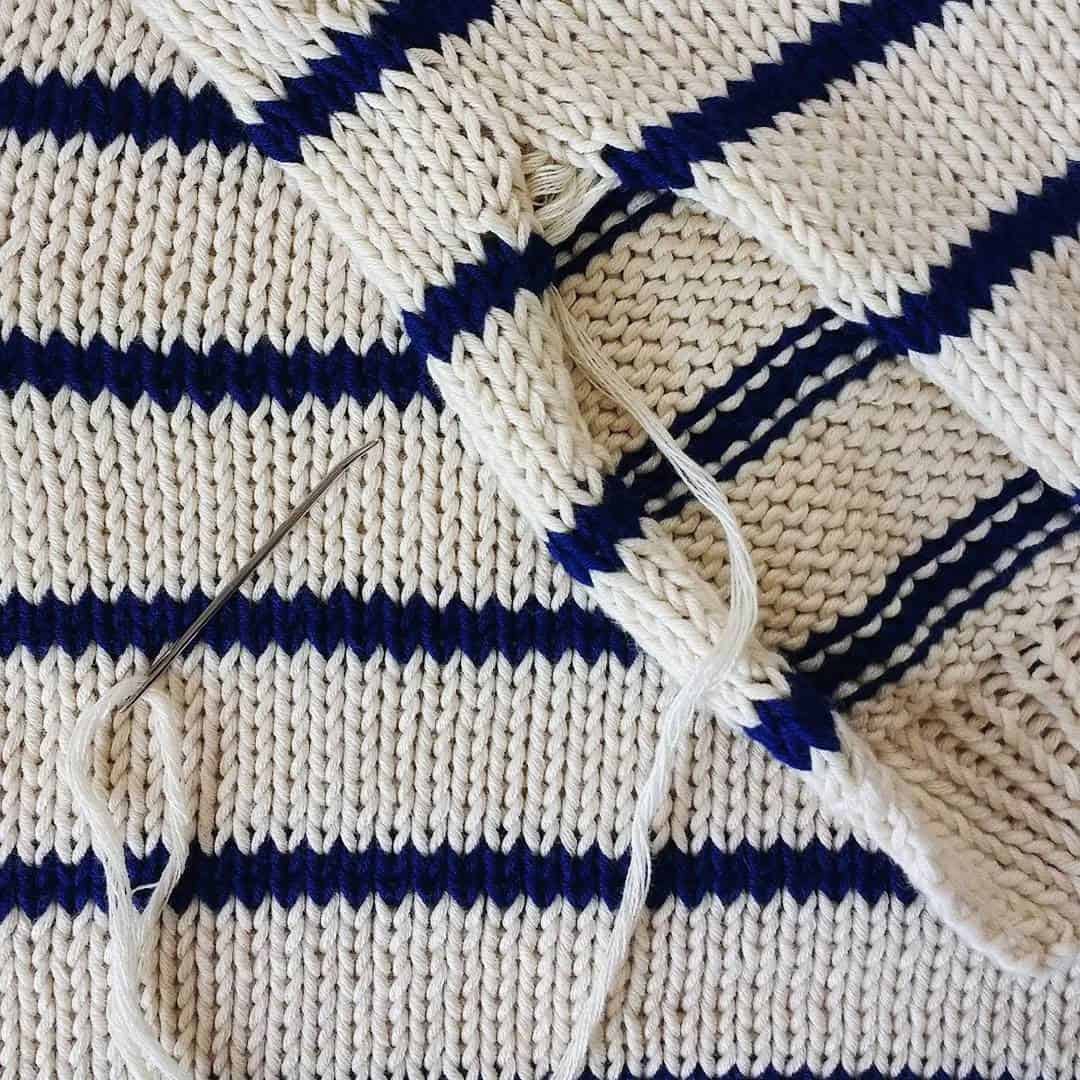
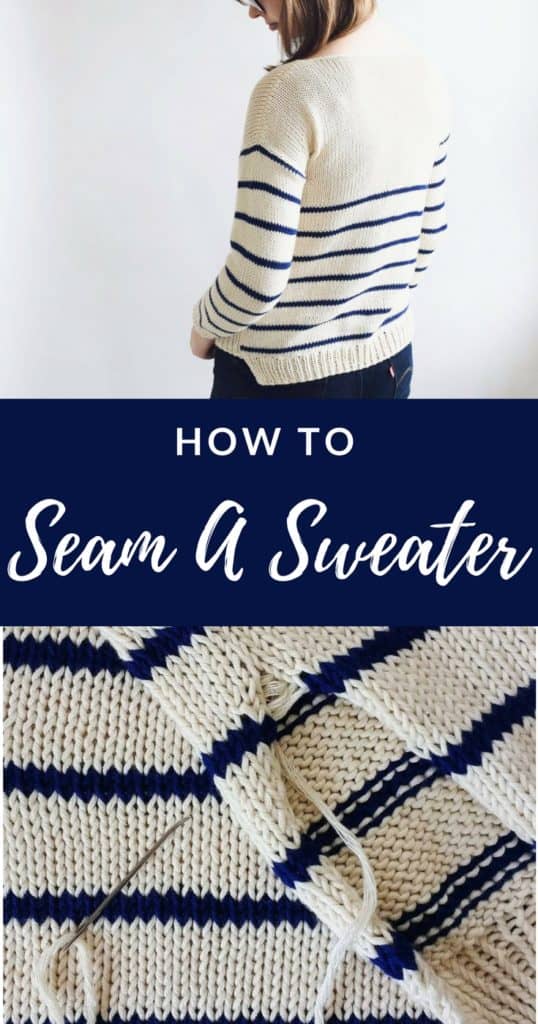
Ah, seaming. I hadn’t done it in years, but it was easier than I remembered and went quickly (I found the tips from Vogue Knitting very helpful). Here are a few short tutorials showing how I seamed the different parts of my sweater:
For the shoulders, line up the bound off edges and pin together. Bring your darning needle under a stitch on one side, then under the corresponding stitch on the other side.
When attaching the sleeves to the body, be sure to pin the center of the bound off edges of the sleeve to the shoulder seam. Bring your darning needle under one of the sleeve stitches, then under the horizontal bar between the first and second stitches of the body. Occasionally, bring your needle under two horizontal bars at once, since there are more rows per inch than sleeve stitches.
I think the side seams are the easiest, which is great since they take up the majority of the sweater! Mattress stitch is very easy – bring your darning needle under the horizontal bar between the first and second stitches on one side, then under the corresponding horizontal bar on the other side.
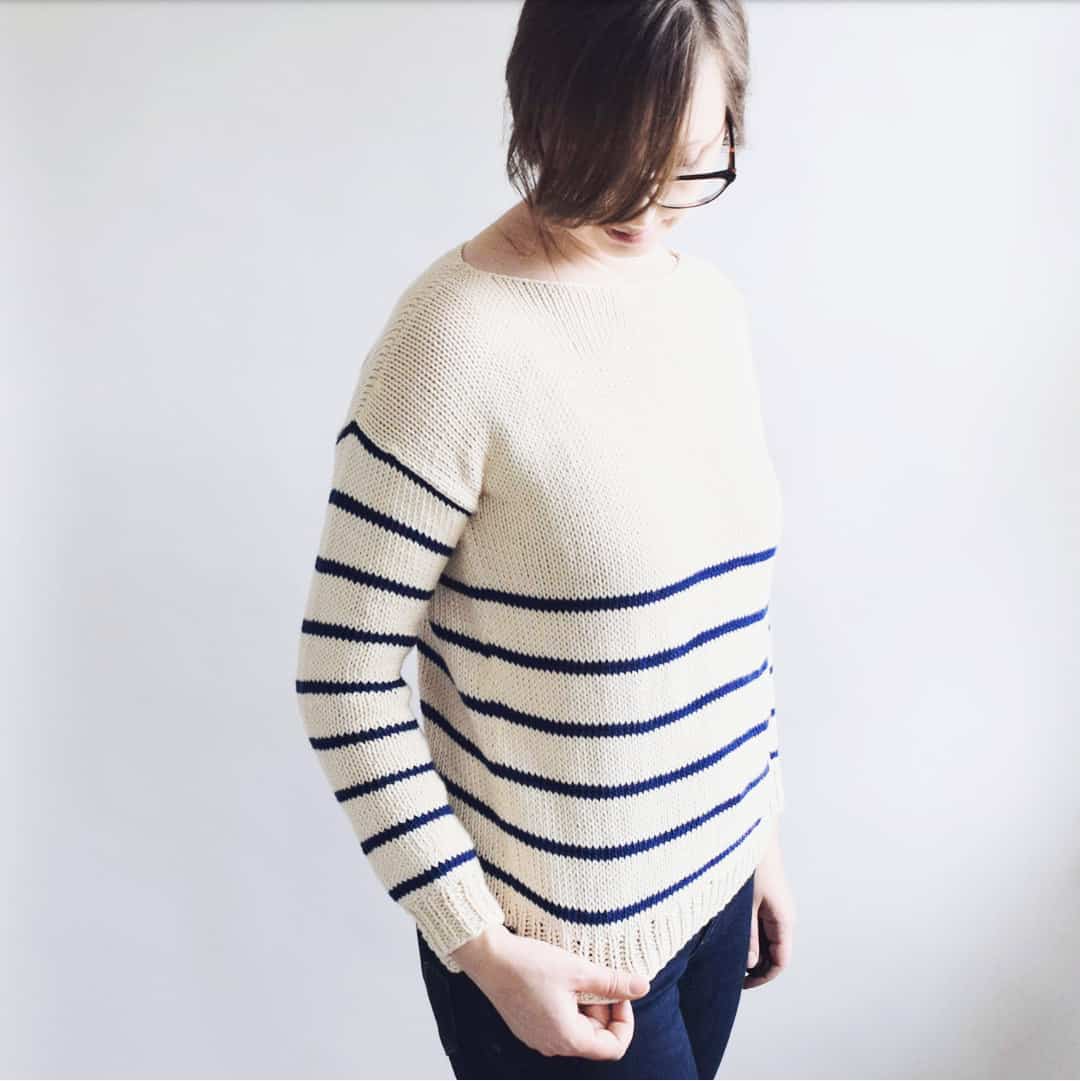
And that’s all there is to it! I sewed my shoulder seams about twice as far as the pattern called for – I just can’t pull off the off the shoulder look. My sweater fits great, though if I make it again I’ll go up a size since I love the look and coziness of oversized sweaters. I think I can say I’m officially out of my no-seaming funk and already looking forward to my next seamed project!
Feel free to share this tutorial with your friends by pinning the image below!