We Are Knitters

The Royal Shawl – We Are Knitters

The Royal Shawl - We Are Knitters knitting kit         #knitting #knittingkit

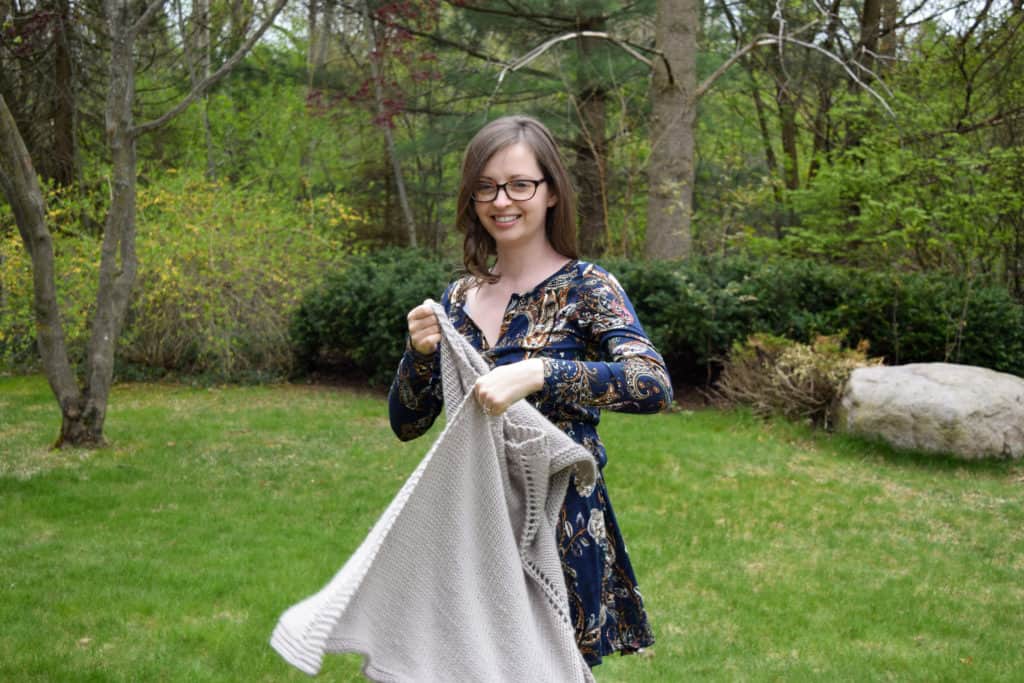
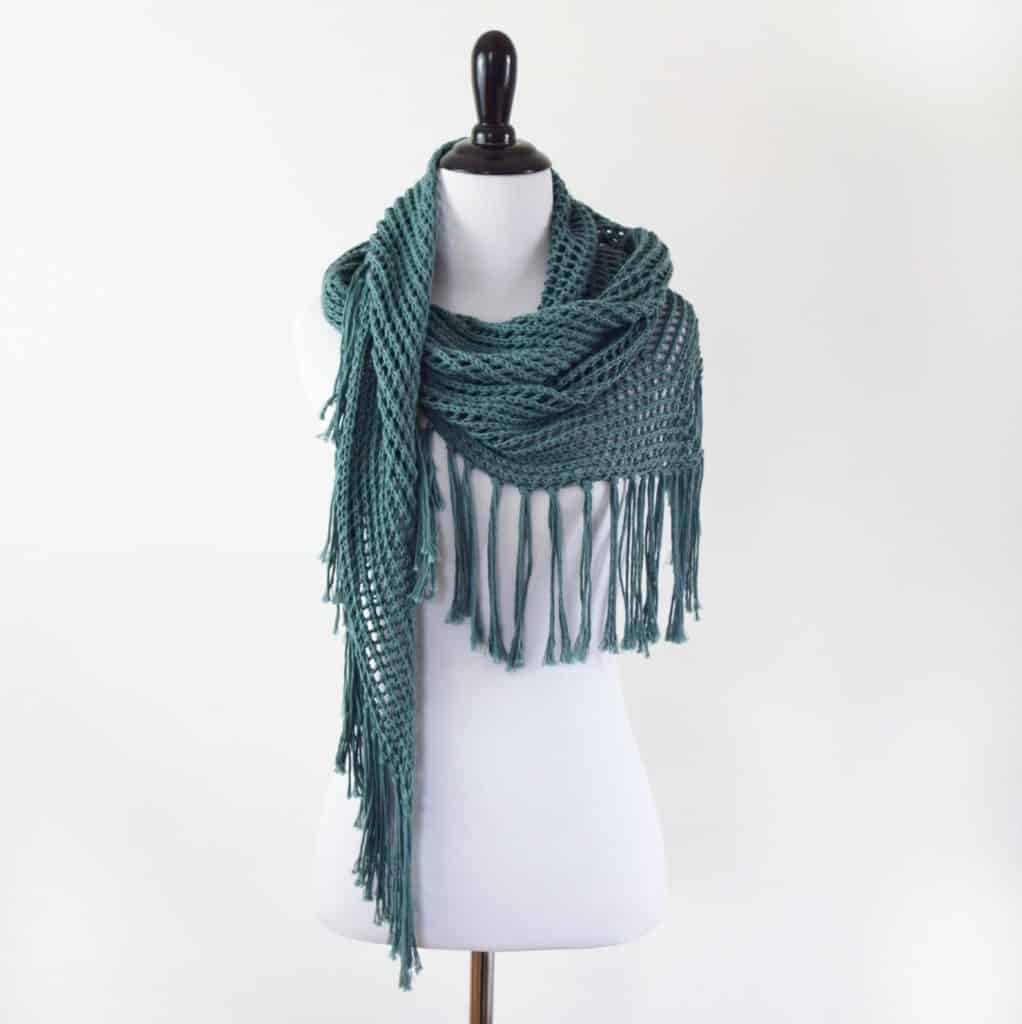
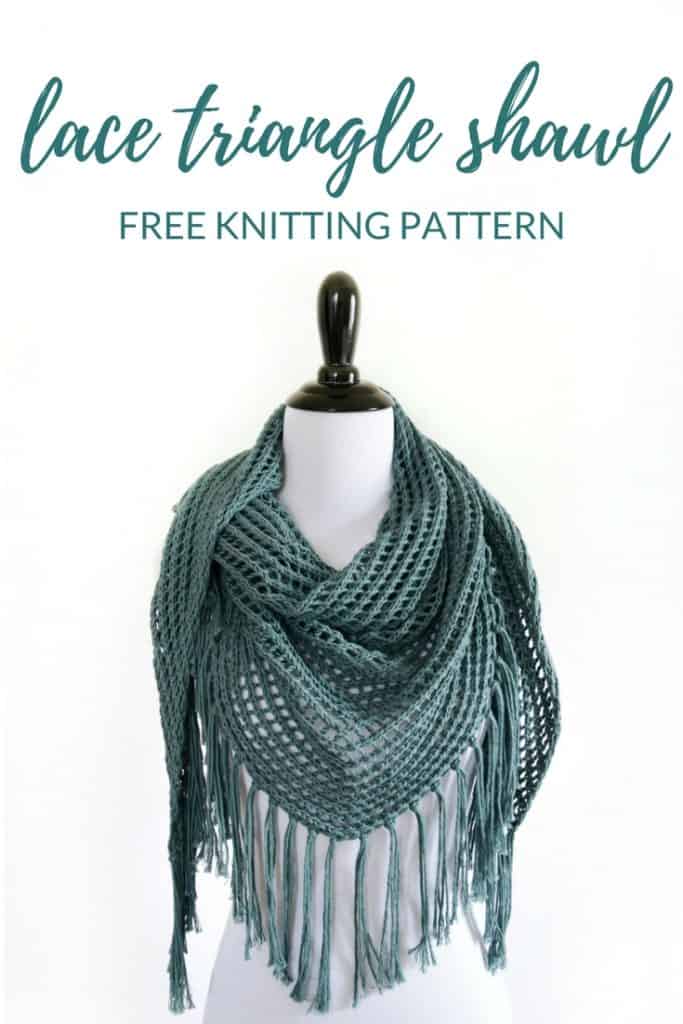
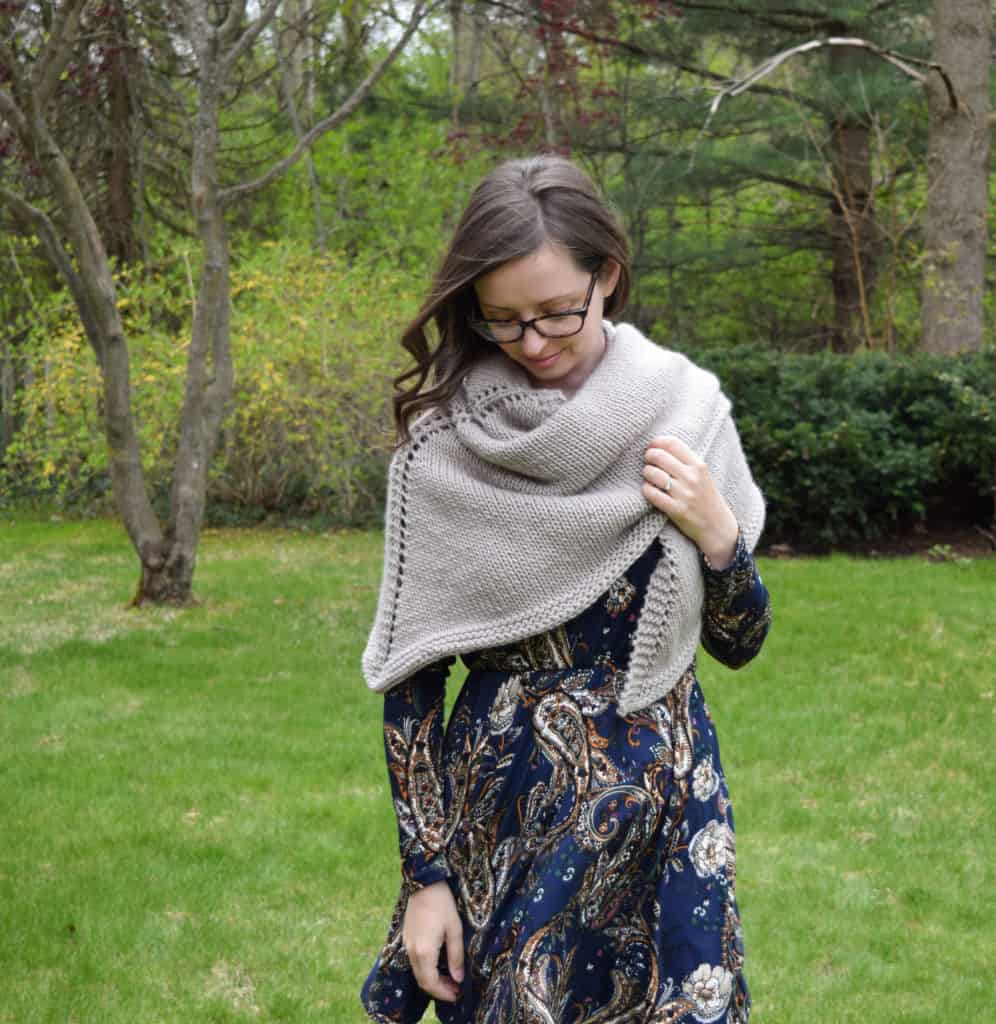
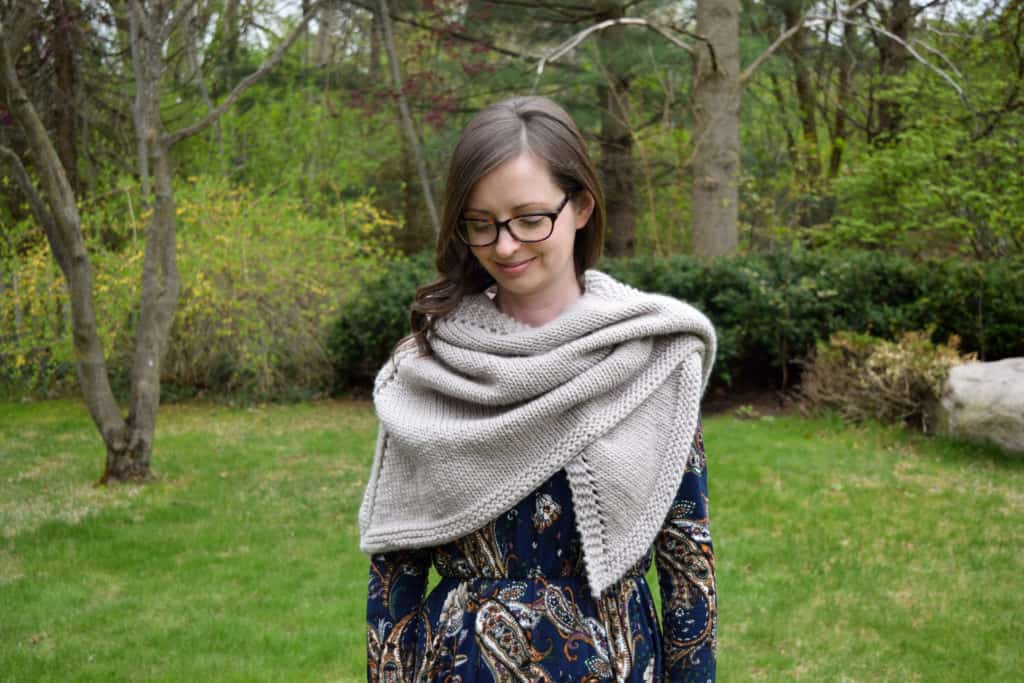
I hope you all had a wonderful Mother’s Day weekend! I was so happy that my Royal Shawl from We Are Knitters was finally finished and blocked in time to wear on our blustery Mother’s Day. I swear spring is still taking it’s sweet time to arrive here in Michigan, but at least we can wear our cozy knits a bit longer!

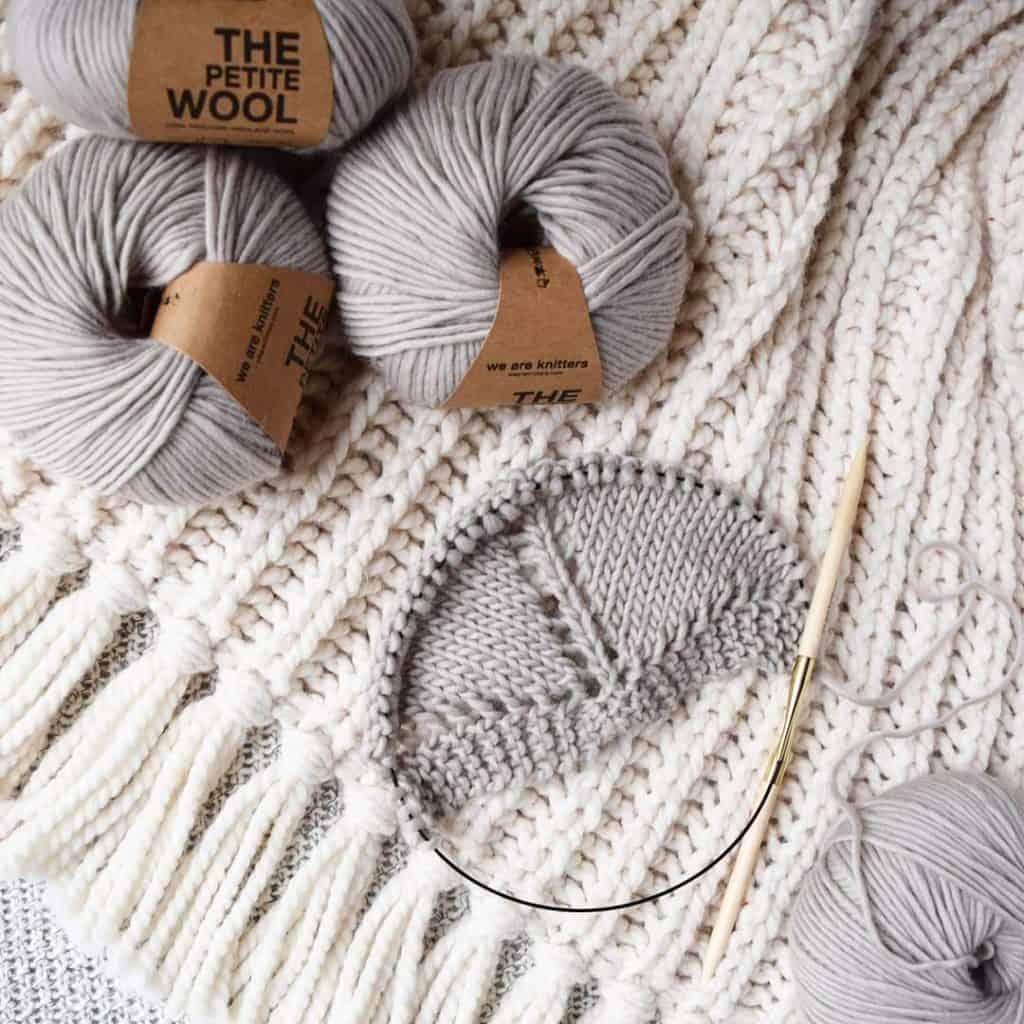
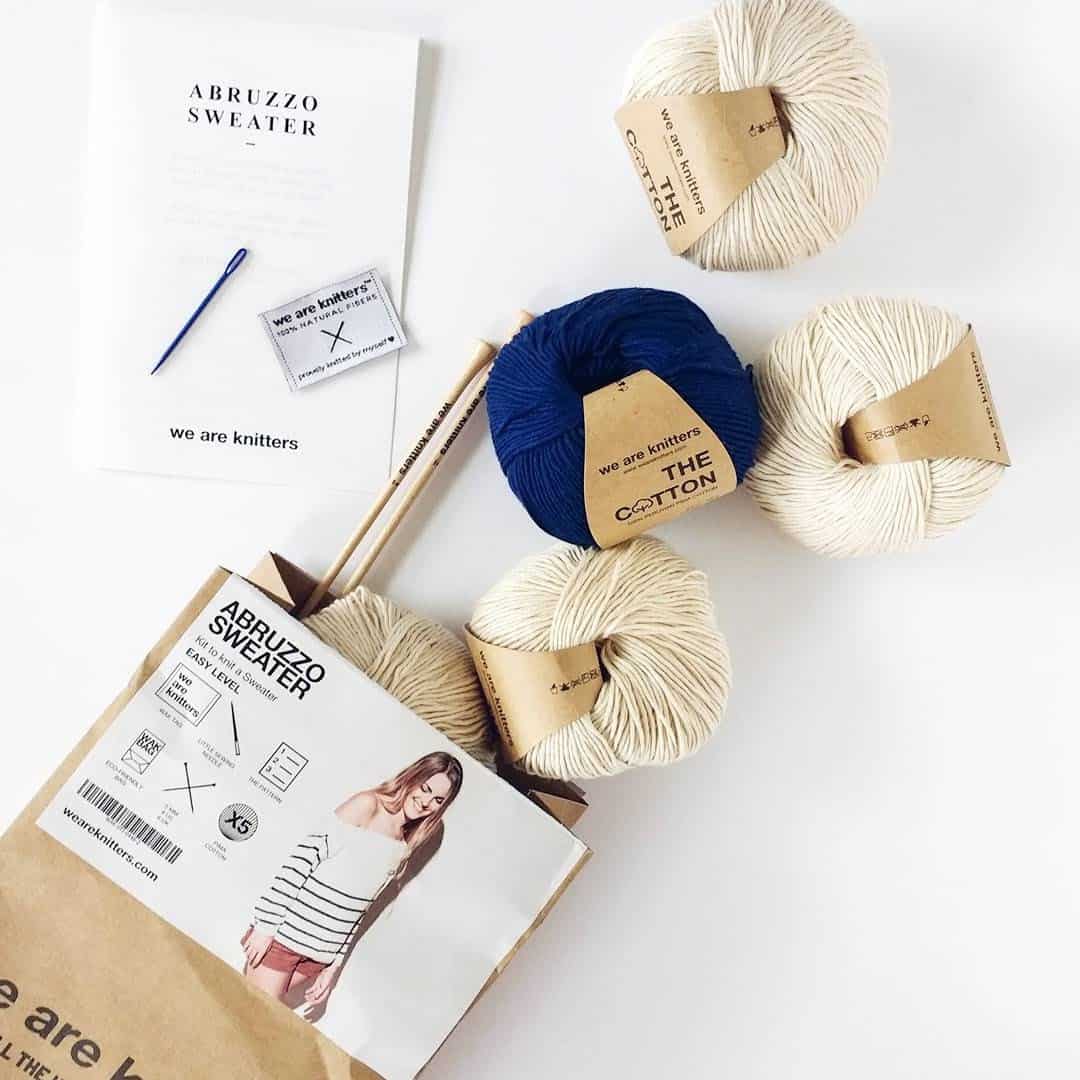
I’ve been working on the Royal Shawl kit since… last fall? It got set aside when packing for our move and forgotten about for a bit.

The Royal Shawl - We Are Knitters knitting kit #knitting #knittingkit

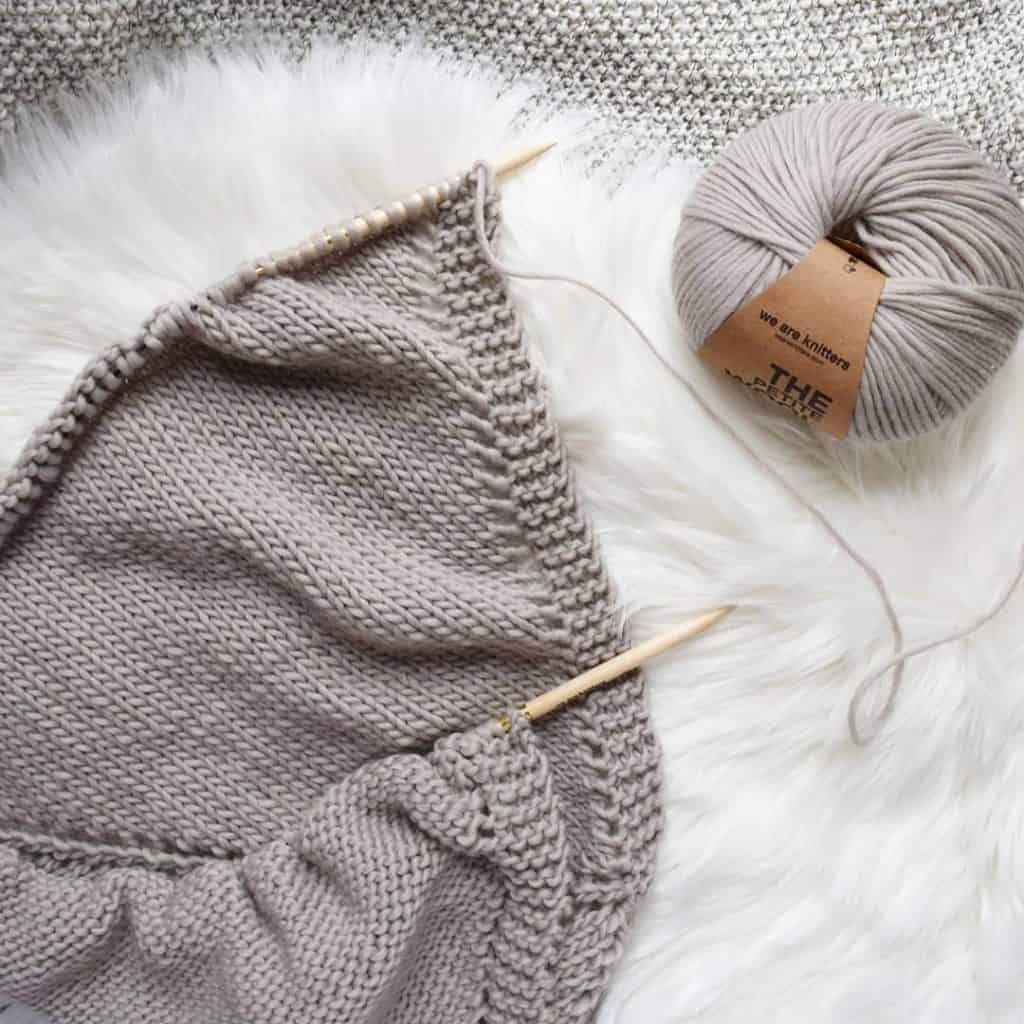
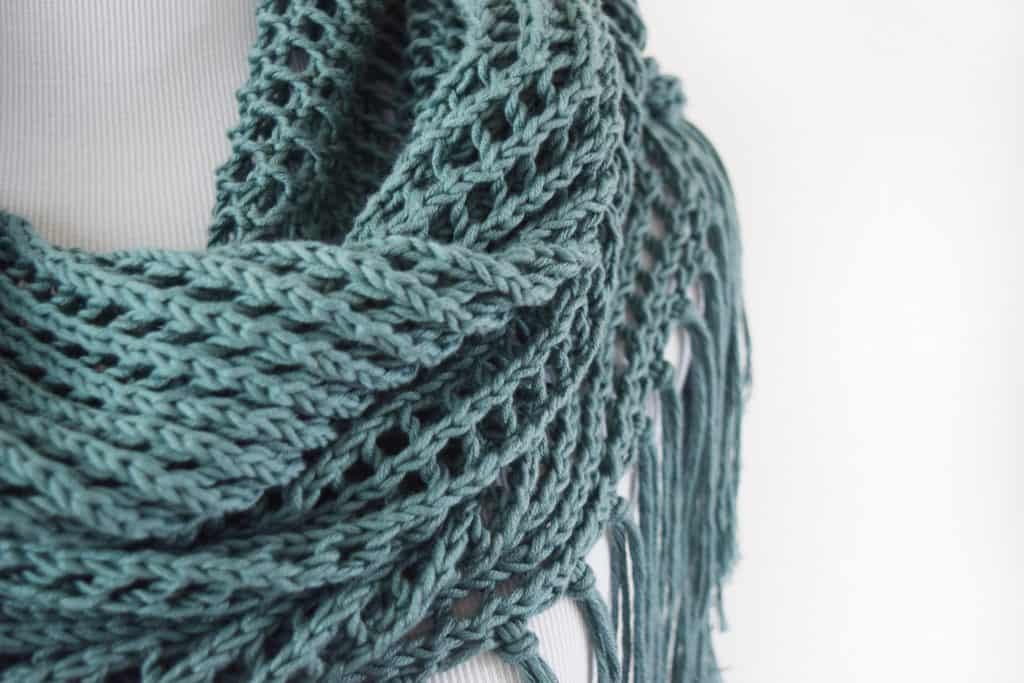
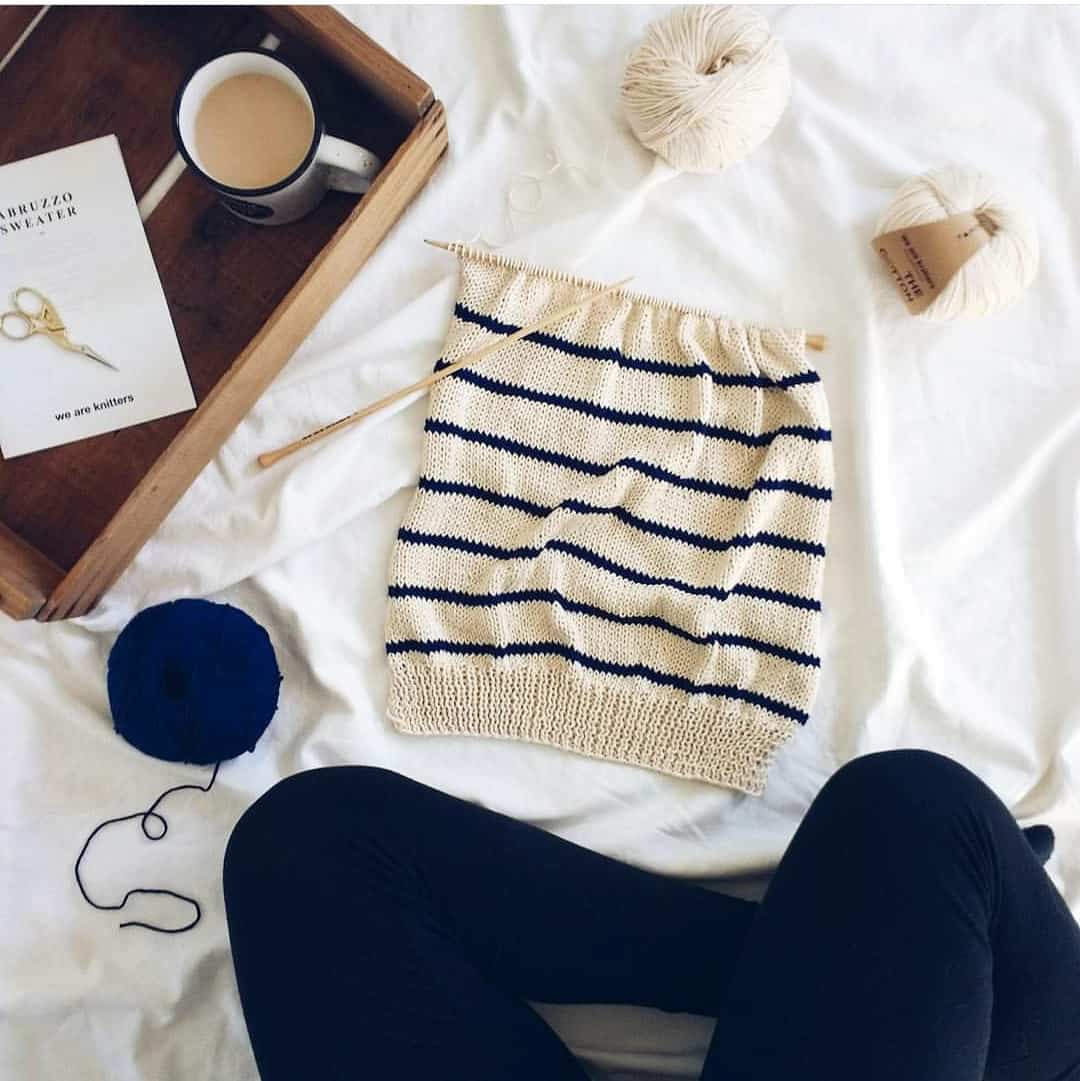
It is such a fun, relaxing, “potato chippy” knit. If you’re looking for something to knitflix to, this definitely fits the bill!

The Royal Shawl - We Are Knitters knitting kit #knitting #knittingkit

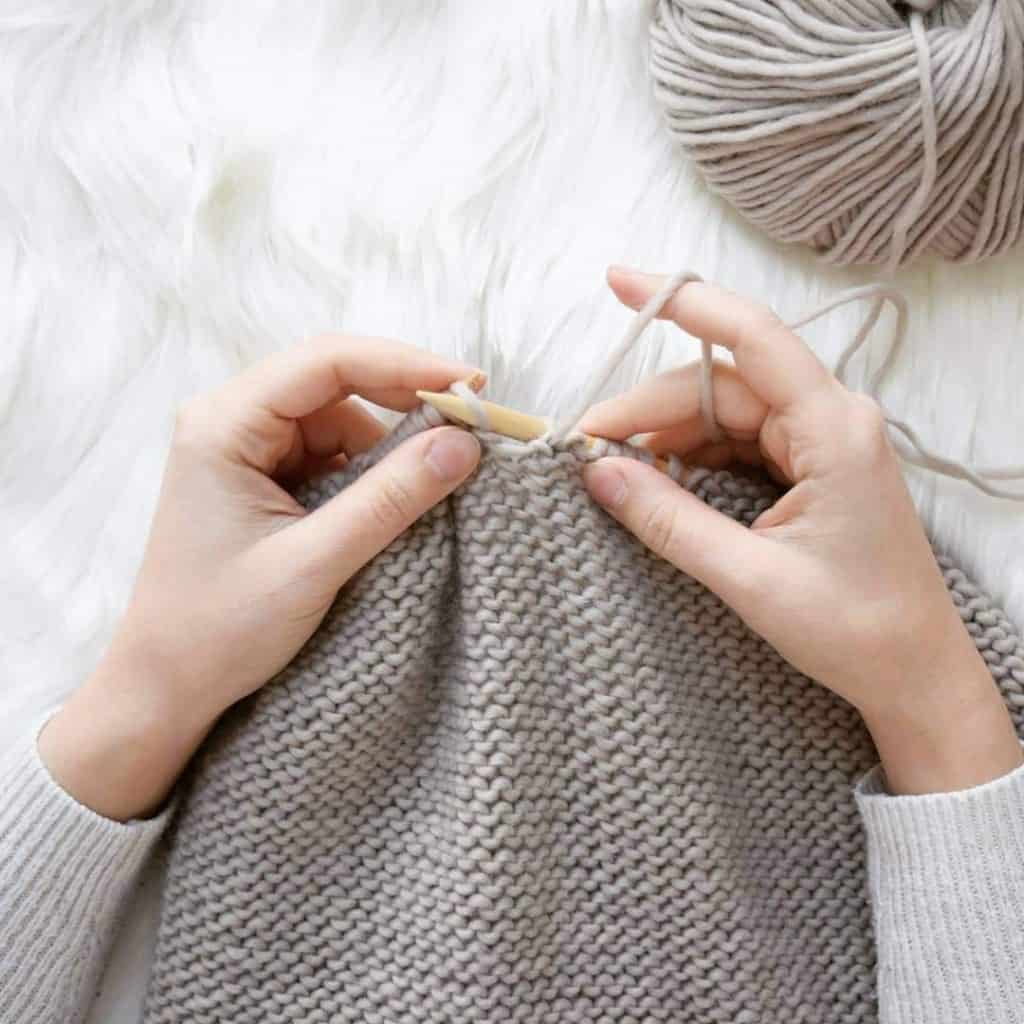
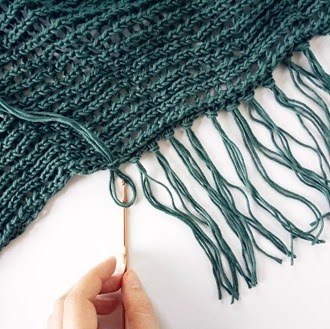
The only modification I made was to the bind off to ensure it would stretch enough. I knit two stitches together through the back loop, then transferred the stitch on the right needle back to the left. And just kept repeating until all stitches were bound off.

The Royal Shawl - We Are Knitters knitting kit #knitting #knittingkit

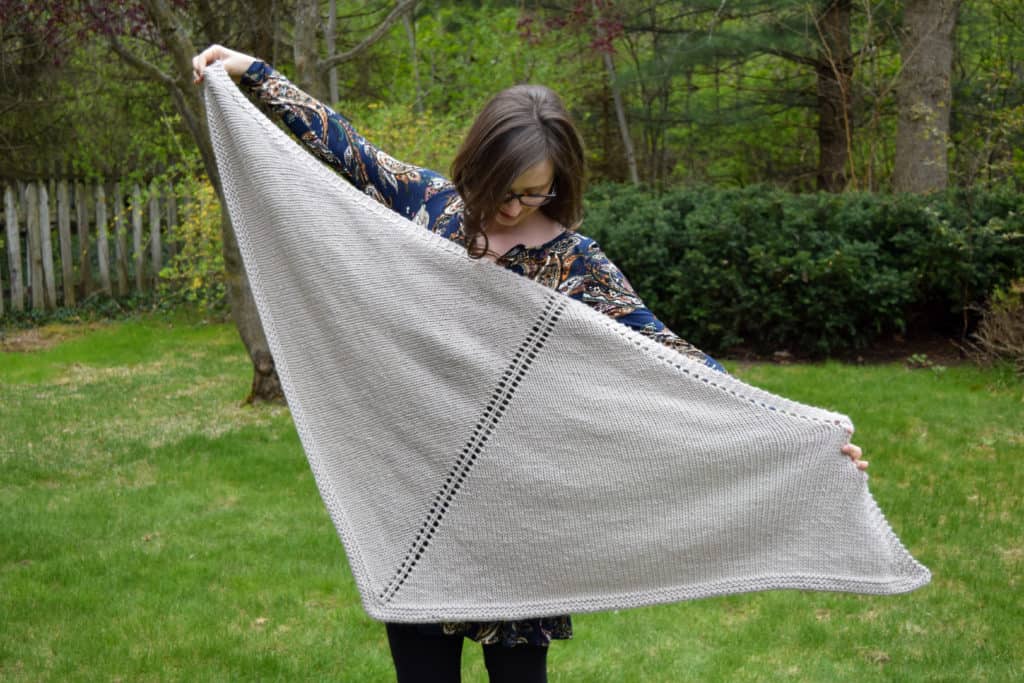
This sucker is huge! Due to the already generous size before blocking, I chose to steam block it gently to keep it from growing much larger. I think that worked out well!

The Royal Shawl - We Are Knitters knitting kit #knitting #knittingkit

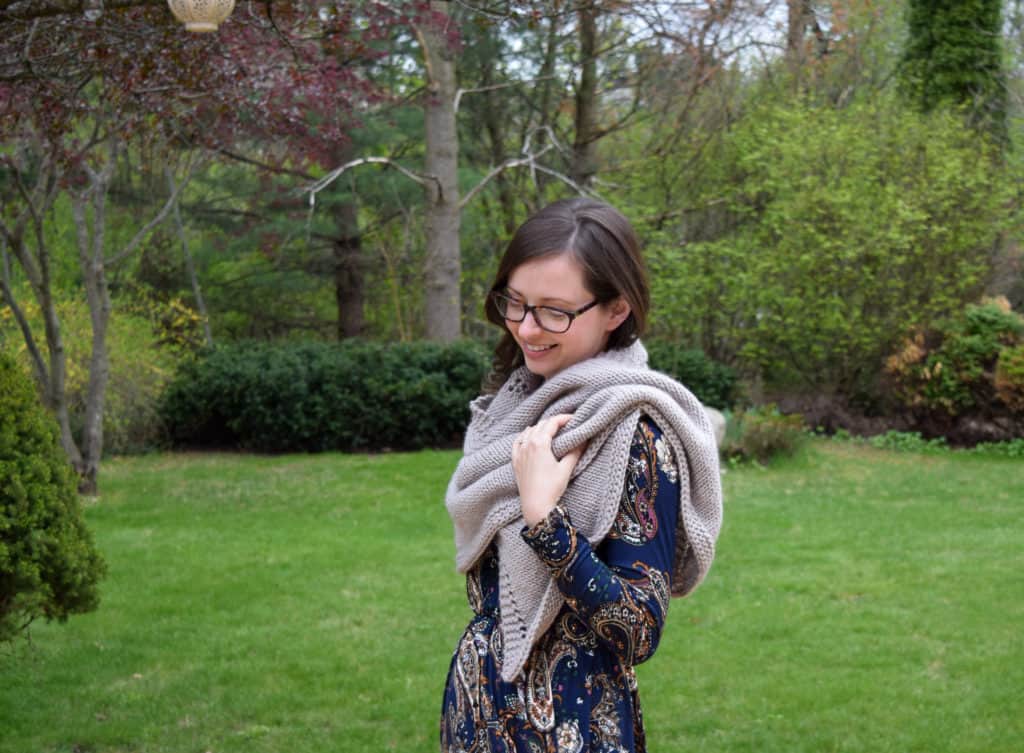
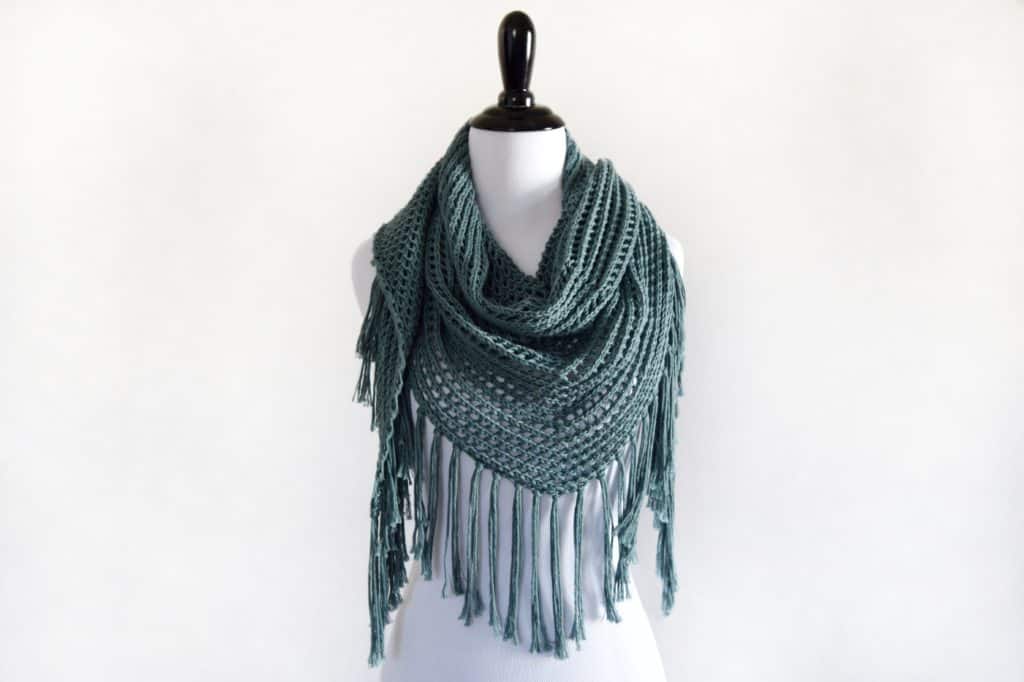
It’s such a cozy, versatile piece that I’m sure I’ll be wearing for years to come.

The Royal Shawl - We Are Knitters knitting kit #knitting #knittingkit

If you’re looking to get this or any of We Are Knitters amazing kits, use the code WAKKNITDAY for a limited time to save 20% on any order over $49!

We Are Knitters is also having a fun contest right now for knit in public day where you can win a $100 gift card! Here are the details:

  • Take a photo of yourself or with your KnitFriends, knitting in a public place (the more original the better!)
  • Post it on your IG page tagging We Are Knitters and using the hashtag #WAKnitinpublic
  • The authors of the 3 best original photos and public places will win a gift card of $100!
The Royal Shawl - We Are Knitters knitting kit #knitting #knittingkit
Candid photos ala my husband

Lace Triangle Shawl – Free Pattern

Lace Triangle Shawl - Free knitting pattern from www.kniftyknittings.com #knitting #knittingpattern #triangleshawl

Lace Triangle Shawl

Happy Friday! Is it warming up where you are? We’re finally getting some sunshine and warmer temps here in Michigan, and I couldn’t be happier about it! Today I thought I’d share with you one of my favorite warm weather knits – this lace triangle shawl!

Lace Triangle Shawl - Free knitting pattern from www.kniftyknittings.com #knitting #knittingpattern #triangleshawl

I originally designed this pattern as a cozy winter shawl made with super bulky yarn, then I updated it last year with a light weight cotton option (shown). Now I’m sharing it here for free, though the ad-free printable PDF can still be purchased in my shop here.

About the pattern

This shawl is constructed sideways, from end to end, in a slightly diamond shape. It’s written for two different yarn weights. Knit a light summery shawl in worsted weight cotton, or a cozy winter accessory with super bulky wool.

The best part about this pattern is that you can really use any yarn weight – just make sure you use an appropriate needle size for the yarn you choose. The pattern instructions are written with the worsted weight version shown first, and super bulky instructions shown in parentheses. 

Purchase the ad-free printable PDF here, add it to your Ravelry queue here, or pin this for later here!
Here’s what you’ll need:
Yarn

Worsted: 380 yds/348 m (2 skeins) We Are Knitters The Cotton (shown in Teal)
Super bulky: 245 yds/224 m (3 skeins) Lion Brand Wool-Ease Thick and Quick (shown in Grey Marble)
*Or similar weight yarns

Needles

Worsted: US 8/5 mm 24 in circular needle
Super bulky: US 15/10 mm 24 in circular needle
*Or sizes needed to obtain gauge

Notions

Crochet hook – E4/3.5 mm (P16/11.5 mm)
Tapestry needle for weaving in ends

Gauge

15 sts and 20 rows (8 sts and 11 rows) = 4in/10cm in pattern after blocking

Finished Measurements

Approximately 22 in wide (not including fringe) and 60 in long

Abbreviations

BO – bind off
CO – cast on
k – knit
k2tog – knit 2 stitches together
p – purl
psso – pass slipped stitch over
RS – right side
sl1k – slip 1 stitch knitwise
sl1p – slip 1 stitch purlwise
ssk – slip, slip, knit slipped sts together
st(s) – stitch(es)
WS – wrong side
wyib – with yarn in back
wyif – with yarn in front
yo – yarn over

Lace Triangle Shawl - Free knitting pattern from www.kniftyknittings.com #knitting #knittingpattern #triangleshawl

Pattern:

With US size 8/5 mm (15/10 mm) needles, CO 3 sts using the long tail method.

Increases:

1st row (and all odd/WS rows) –  sl1p wyif, p across.

2nd row (RS) – sl1p wyib, yo, k1, yo, k1 (2 sts increased).

4th Row (RS) – sl1p wyib, *yo, k2tog, repeat from * to end of row.

6th Row (RS) – sl1p wyib, *yo, k2tog, repeat from * to last 2 sts, yo, k1, yo, k1 (2 sts increased).

8th Row (RS) – sl1p wyib, *yo, k2tog, repeatfrom * to end of row.

Repeat rows 5-8 until shawl measures 22 in wide [about 87 (43) sts on the needle], or until desired width.

Decreases:

1st row (and all WS rows) – sl1p wyif, p to last st, sl1p wyif.

2nd row (RS) – *ssk, yo, repeat from * to last st, k1.

4th row (RS) – *ssk, yo, repeat from * to last 3 sts, sl1k, k2tog, psso (2 sts decreased).

Repeat previous four rows until 3 sts remain.

Next row (WS) – sl1p wyif, purl across.

Next row (RS) – BO remaining 3 sts knitwise.

Fringe:

For the fringe, cut two strands of yarn 14 in long. Insert a crochet hook from the wrong side through a slipped edge st. Fold the two lengths of yarn in half, hook with the crochet hook and pull partway through the edge st. Next, pull the ends of the yarn through the loop. Continue adding fringe to every other slipped edge stitch along the two shorter sides of the shawl.

Weave in ends and block to dimensions.

Lace Triangle Shawl - Free knitting pattern from www.kniftyknittings.com #knitting #knittingpattern #triangleshawl

I hope you enjoy this pattern! Feel free to share with your friends by pinning the image below!

Lace Triangle Shawl - click for the free knitting pattern from kniftyknittings.com! #knitting #knittingpattern #shawlpattern

Abruzzo Sweater & Seaming Tips

Years ago, I made my first top down raglan sweater. From that point on, I vowed to never go back to seaming sweaters because I. Hated. Seaming. Why bother with it when you can knit a sweater all in one piece?

Enter We Are Knitters and their beautiful Abruzzo Sweater kit. It’s simple and classic and completely my style. I thought I’d give it a whirl and worry about the seaming later. That’ll be future Destiny’s problem.

You guys, this kit has everything. The pattern, wooden needles (with a nice sharp point), a darning needle, an adorable garment tag (that I still haven’t gotten around to sewing on my sweater) and a sweater’s worth of soft drapey 100% cotton.

The knitting projects I love most are ones I don’t have to think too much about. I love unwinding after a long day with a glass of wine, my knitting, conversation with my husband and a little knit-flixing. I like to just glance at a pattern, see what goes where, and relax with simple stitches that eventually turn into something beautiful. This is definitely one of those projects.

The best part about knitting a sweater in pieces is being able to bite off just a little bit at a time. I loved throwing a sleeve in my bag to work on while my little one played at a play group, without having to lug an entire sweater around. Piece by piece, it will be finished and ready to seam.

Ah, seaming. I hadn’t done it in years, but it was easier than I remembered and went quickly (I found the tips from Vogue Knitting very helpful). Here are a few short tutorials showing how I seamed the different parts of my sweater:

For the shoulders, line up the bound off edges and pin together. Bring your darning needle under a stitch on one side, then under the corresponding stitch on the other side.

When attaching the sleeves to the body, be sure to pin the center of the bound off edges of the sleeve to the shoulder seam. Bring your darning needle under one of the sleeve stitches, then under the horizontal bar between the first and second stitches of the body. Occasionally, bring your needle under two horizontal bars at once, since there are more rows per inch than sleeve stitches.

I think the side seams are the easiest, which is great since they take up the majority of the sweater! Mattress stitch is very easy – bring your darning needle under the horizontal bar between the first and second stitches on one side, then under the corresponding horizontal bar on the other side.

And that’s all there is to it! I sewed my shoulder seams about twice as far as the pattern called for – I just can’t pull off the off the shoulder look. My sweater fits great, though if I make it again I’ll go up a size since I love the look and coziness of oversized sweaters. I think I can say I’m officially out of my no-seaming funk and already looking forward to my next seamed project!

Feel free to share this tutorial with your friends by pinning the image below!

how to seam a sweater

Copyright © 2024 · Theme by 17th Avenue