mittens

Waffle Knit Mittens – free pattern and knitting kit!

Hey friends! Who’s ready to knit these warm and cozy Waffle Knit Mittens? 🙋‍♀️

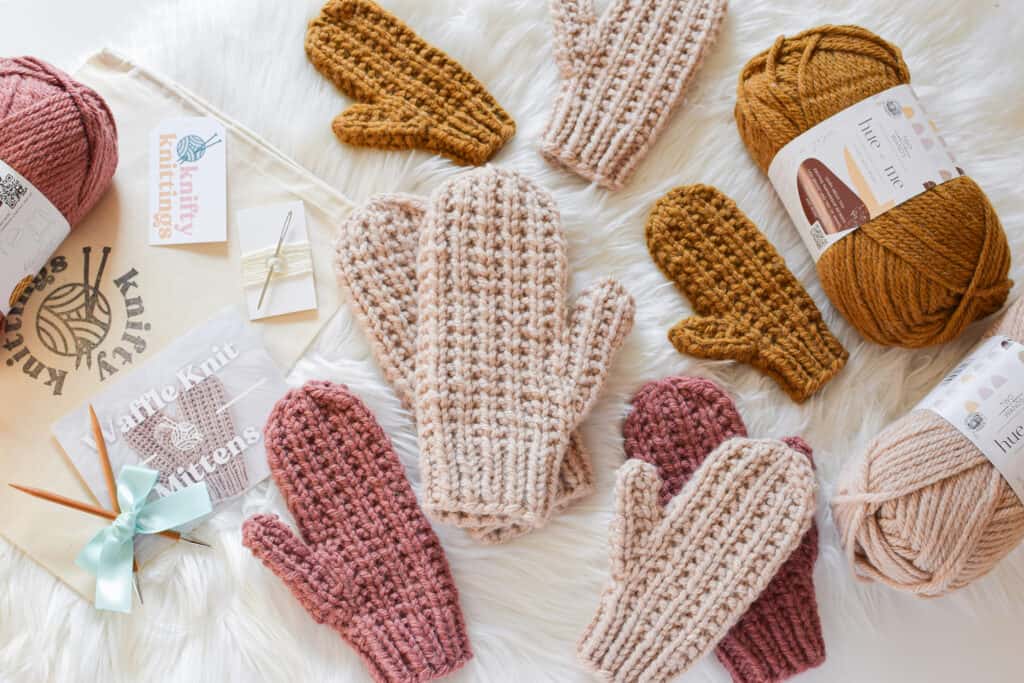
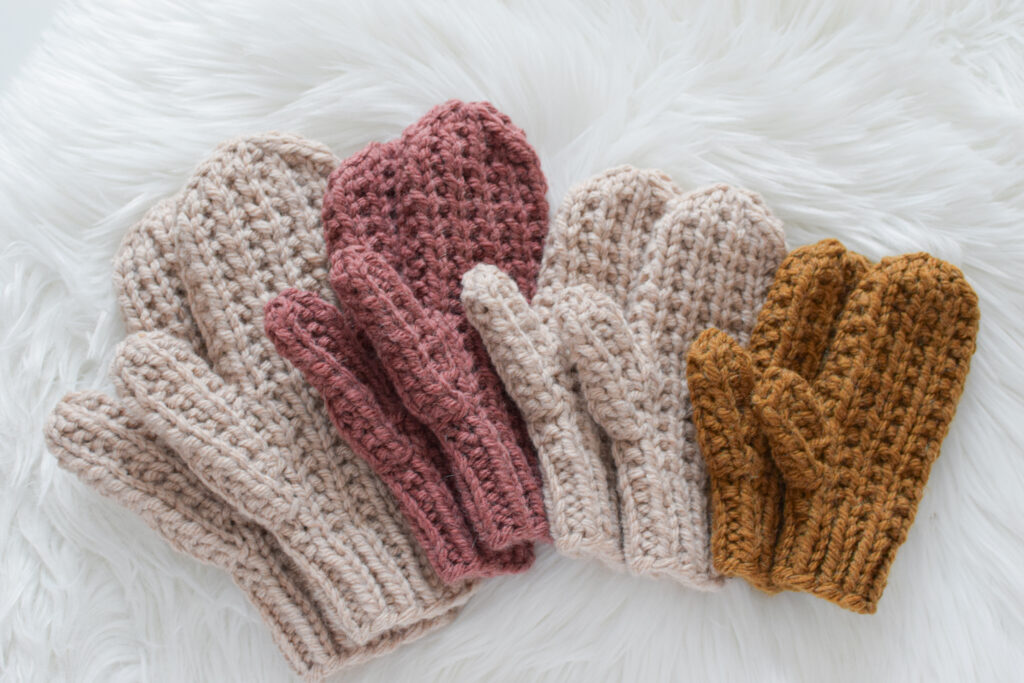
Cozy Waffle Knit Mittens in rich hues, showcasing a textured pattern and crafted with Hue and Me yarn. Ideal winter accessory for warmth and style, available in four sizes from child to adult. Perfect for chilly days and handmade comfort.

The Waffle Knit Mittens pattern offers a cozy and stylish accessory for colder days, combining the texture of the waffle stitch with the convenience of the magic loop knitting method. If you’ve been around for a bit, you may recognize these as my Broken Rib Mittens I made a while back for a sponsored post. Now, I’ve revamped the pattern using my favorite chunky weight yarn, Hue + Me, and included 4 different sizes for the whole fam!

The free pattern in this blog post will get you started knitting the Waffle Knit Mittens. However, for those who prefer a little more guidance, additional video tutorials that provide a step-by-step guide can be accessed through the purchase of the PDF knitting pattern OR the all inclusive knitting kit! Keep scrolling for the free pattern, or visit these links to purchase the printable PDF or kit.
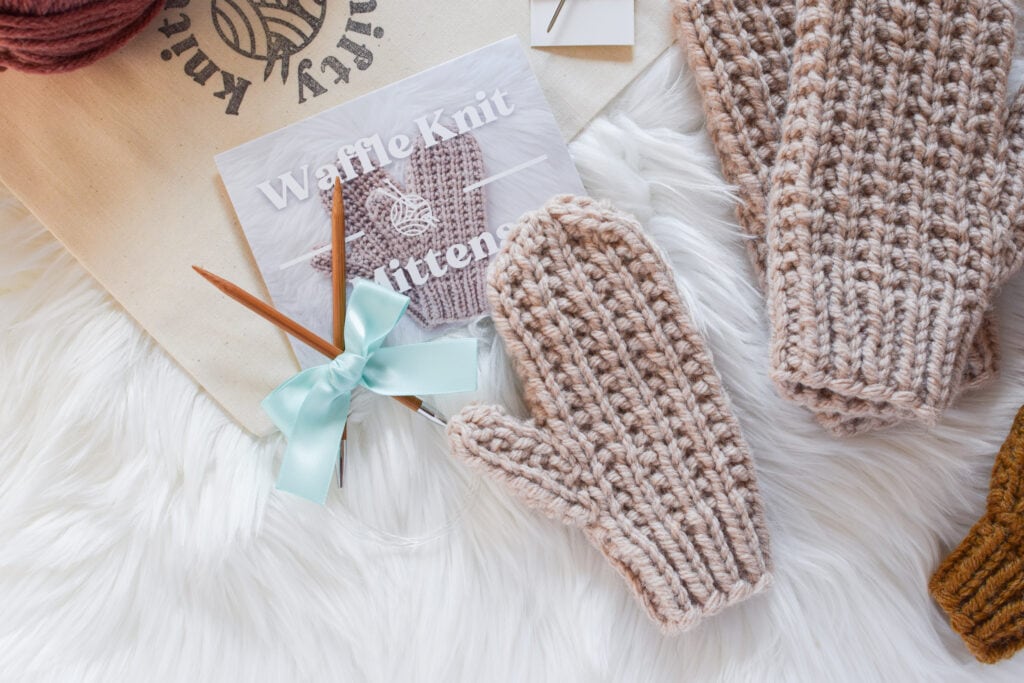
Cozy Waffle Knit Mittens in rich hues, showcasing a textured pattern and crafted with Hue and Me yarn. Ideal winter accessory for warmth and style, available in four sizes from child to adult. Perfect for chilly days and handmade comfort.
About the kit

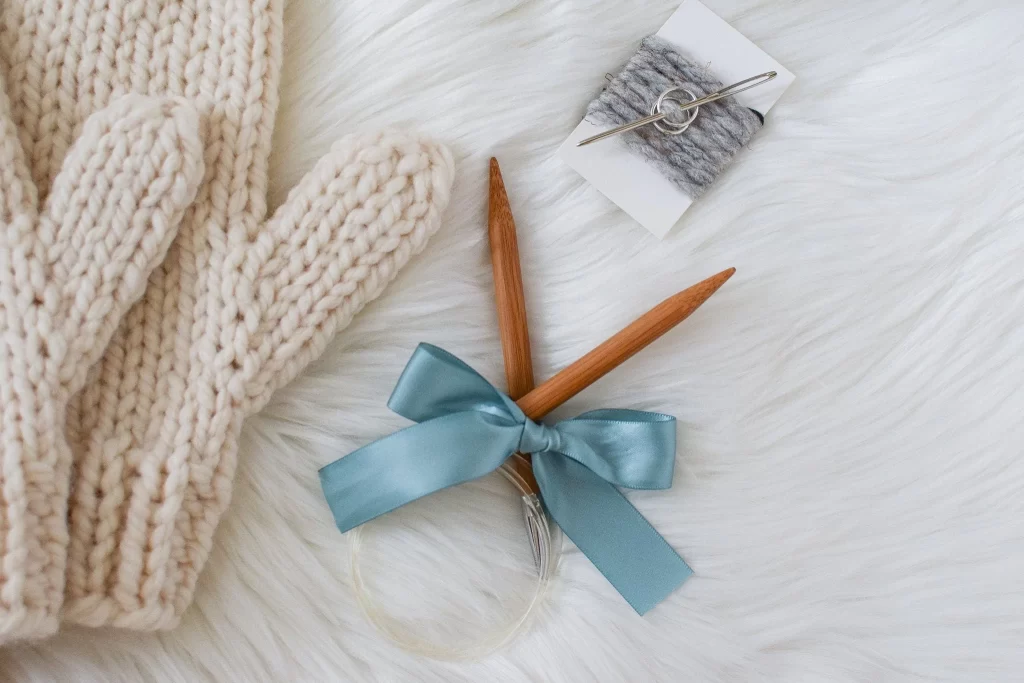
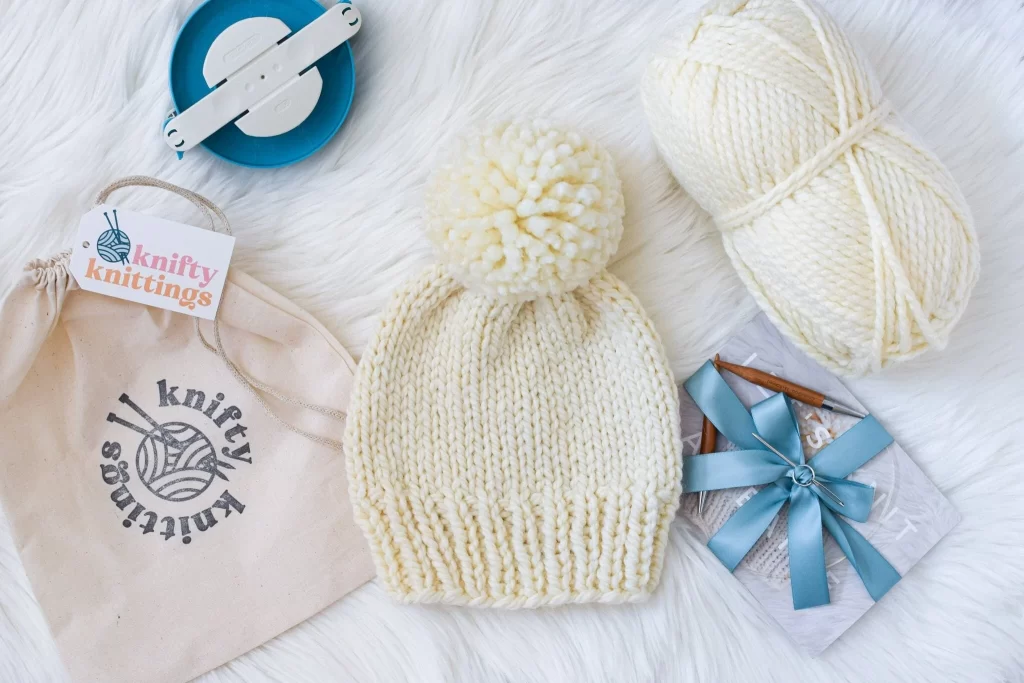
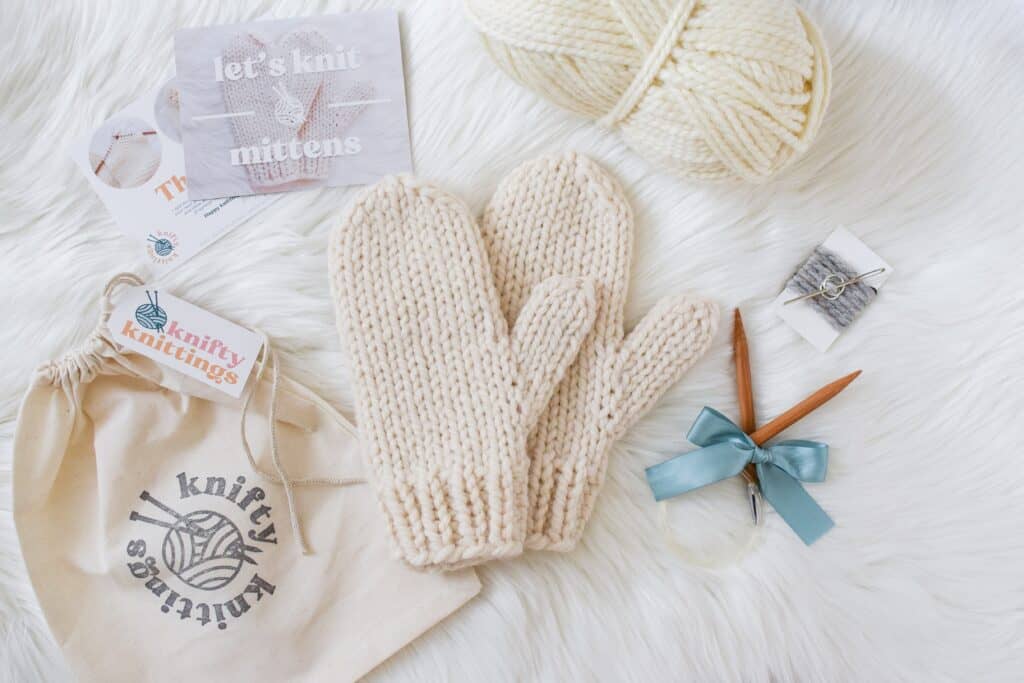
The curated kit includes everything you need to get started. Additionally, the video tutorials will walk you through each step on how to knit the Waffle Knit Mittens.

– 1 skein of Lion Brand Hue + Me yarn (80% acrylic/20% wool)
– US 9/5.5 mm 40″ circular knitting needles (optional)
– Yarn needle
– 2 stitch markers
– Scrap yarn
– Written pattern
– Video library access
– All packaged in a hand stamped project bag

This is a level 4 (intermediate to advanced) knitting kit. You should be familiar and confident with the knit and purl stitches, how to knit in the round using the magic loop method, and also basic increases and decreases.

About the pattern

This pattern is written in four sizes, ranging from child to adult. Particularly, the smallest size instructions are presented first, followed by the larger sizes enclosed in parentheses. It is knit using the magic loop method, though dpns can be substituted with the stitches divided equally across four needles.
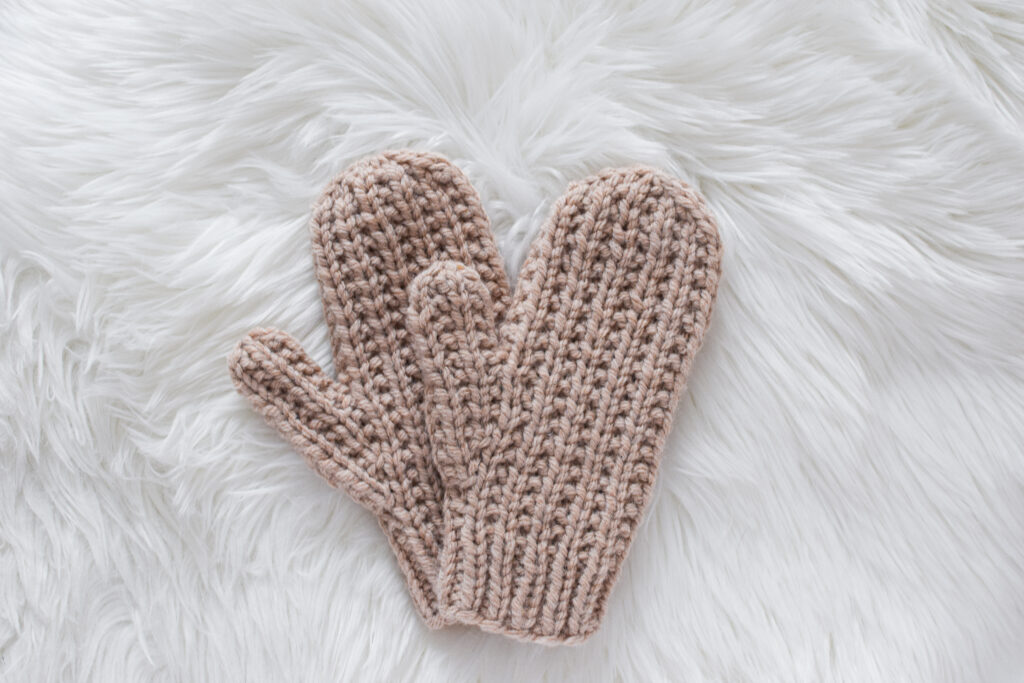
Let’s get started!

Here’s are the details:

Yarn
39 (55) 60 (85) yds/36 (50.5) 55 (78) m Lion Brand Hue + Me or similar chunky (category 5) yarn

Needles
US 9/5.5 mm 40 in circular needle
(or size needed to obtain gauge)
Optional: Double pointed needles may also be used

Notions
2 Stitch markers
Tapestry needle for weaving in ends
Scrap yarn

Gauge
12 sts and 22 rnds = 4 in/10 cm in pattern

Sizes
Child S (Child M) Teen (Adult)
To fit age: 2-6 years (6-10 years) Teen (Adult)
To fit hand circumference: 6 (7) 7 (7.5) in/15.25 (17.75) 17.75 (19) cm

Abbreviations
CO – cast on
k – knit
k2tog – knit 2 together
m1L – make 1 left leaning increase
m1R – make 1 right leaning increase
p – purl
pm – place marker
rnd(s) – round(s)
sl – slip
sm – slip marker
ssk – slip, slip, knit slipped sts together
st(s) – stitch(es)
Pattern
Cuff:

Please note: Double pointed needles may also be used by dividing stitches evenly over 4 needles. 

Using the magic loop method, CO 16 (20) 20 (24) sts with the long tail cast on and join in the rnd, being careful not to twist sts.

Work in k1, p1 rib for 6 (7) 7 (8) rnds. 

Begin working in waffle knit pattern:

1st rnd: Knit.

2nd rnd: *k1, p1, repeat from * to end of rnd.

These 2 rnds form waffle knit pattern.

Repeat previous 2 rnds 0 (1) 1 (1) times more.

Thumb Gusset:

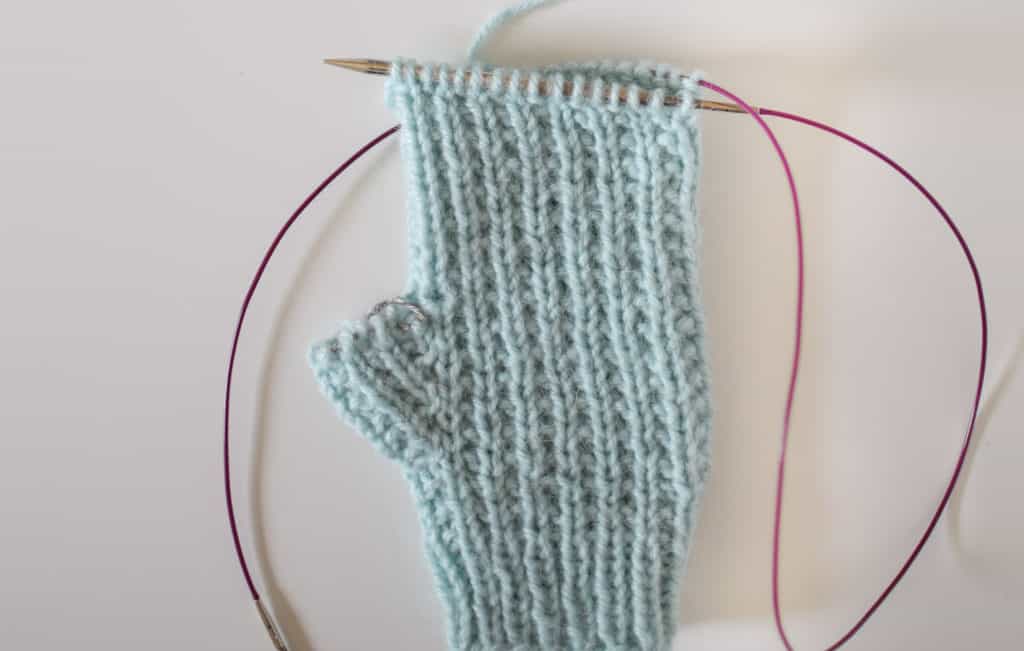
1st rnd: k7 (9) 9 (11) sts, (now there is 1 st left on the front needle), pm, m1R, k1, m1L, pm, k to end of rnd (2 sts increased).

2nd rnd: *k1, p1, repeat from * to 1 st before m, k1, sm, k1, p1, k1, sm, *k1, p1, repeat from * to end of rnd.

3rd rnd: k to marker, sm, m1R, k to next marker, m1L, sm, k to end of rnd (2 sts increased).

4th rnd: *k1, p1, repeat from * to end of rnd.

5th rnd: Repeat rnd 3 (2 sts increased).

6th rnd: *k1, p1, repeat from * to 1 st before m, k1, sm, [k1, p1] 3 times, k1, sm, *k1, p1, repeat from * to end of rnd.


Child S – continue to separate for thumb.


Child M and Teen sizes only:

7th rnd: Knit.

8th rnd: Repeat rnd 6

Teen size only:

Repeat rnds 7 and 8 once more.

Adult size only:

7th rnd: k to marker, sm, m1R, k to next marker, m1L, sm, k to end of rnd (2 sts increased).

8th rnd: *k1, p1, repeat from * to end of rnd.

9th rnd: Knit.

10th and 11th rnds: Repeat rnds 8 and 9.

12th rnd: *k1, p1, repeat from * to end of rnd.

Separate for thumb – All sizes:

Next rnd: k to marker and remove marker, place 7 (7) 7 (9) gusset sts onto scrap yarn. Remove next marker. Cast on 1 st using the backwards loop cast on. 8 (10) 10 (12) sts should be on each needle. k to end of rnd. 

Next rnd: *k1, p1, repeat from * to end of rnd. 

Next rnd: Knit.

Repeat previous 2 rnds until mitten measures 4.5 (5) 5.75 (6.5) in/11.5 (13) 14.5 (16.5) cm from the top of the cuff OR until the mitten measures .5 (.75) .75 (1) in/1.25 (2) 2 (2.5) cm less than desired length, ending after a k1, p1 rnd.

Decreases:

1st rnd: *ssk, k4 (6) 6 (8) sts, k2tog, repeat from * once more (4 sts decreased).

2nd rnd: *ssk, [p1, k1] 1 (2) 2 (3) times, k2tog, repeat from * once more (4 sts decreased).

Child M, Teen and Adult sizes only:

3rd rnd: *ssk, k(2) 2 (4) sts, k2tog, repeat from * once more (4 sts decreased).

Adult size only:

4th rnd: *ssk, p1, k1, k2tog, repeat from * once more (4 sts decreased).

All sizes:

Cut yarn, leaving an 8 in tail. Weave tail through remaining 8 sts and draw to close top of mitten.

Thumb:

Place the 7 (7) 7 (9) sts from scrap yarn onto needles. Pick up and knit 1 st from the cast on st edge.

1st rnd: Knit.

Child S, Child M and Teen sizes only:

2nd rnd: *p1, k1, repeat from * to end of rnd.

Adult size only:

2nd rnd: *k1, p1, repeat from * to end of rnd.

All sizes:

Repeat previous 2 rnds 1 (2) 3 (4) times more.

Next rnd: *ssk, k 0 (0) 0 (1), k2tog, repeat from * once more.

Cut yarn, weave tail through remaining 4 (4) 4 (6) sts and draw to close top of thumb.

Turn mitten inside out, weave in all ends, and use the tail from the picked up st to close the gap near the base of the thumb. Repeat all steps for the second mitten.

I hope you enjoy knitting the Waffle Knit Mittens! Also, feel free to share it by pinning the image below. I’d love to see your projects on Instagram! Use the #kniftyknittings hashtag and feel free to tag me @kniftyknittings. Check out the matching headband kit here!
Cozy Waffle Knit Mittens in rich hues, showcasing a textured pattern and crafted with Hue and Me yarn. Ideal winter accessory for warmth and style, available in four sizes from child to adult. Perfect for chilly days and handmade comfort.

How to Knit Mittens! New kit and tutorial

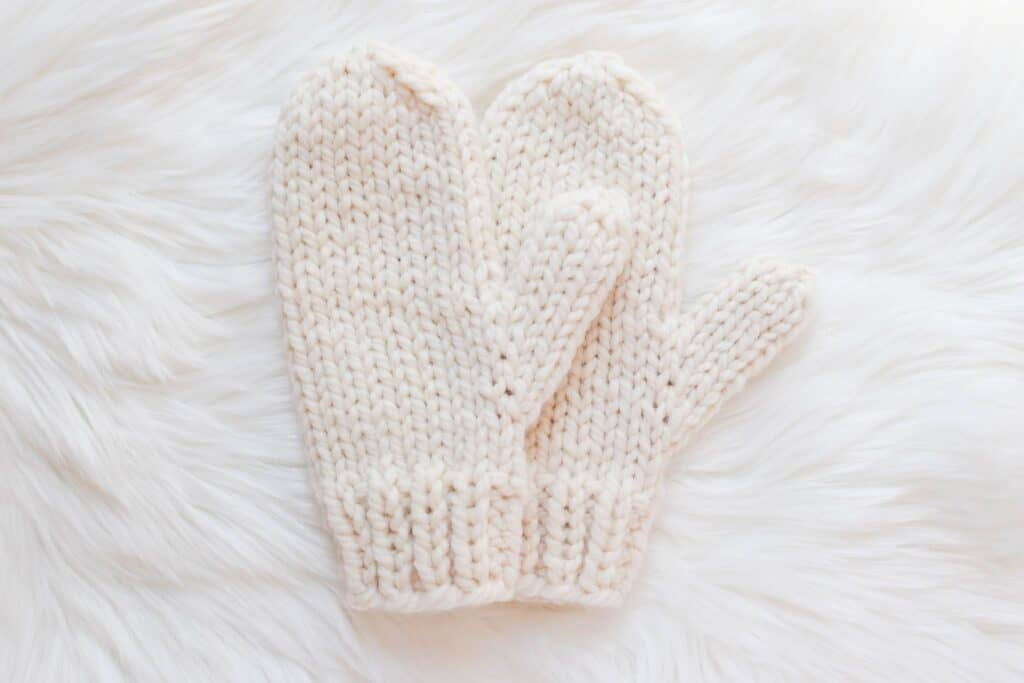
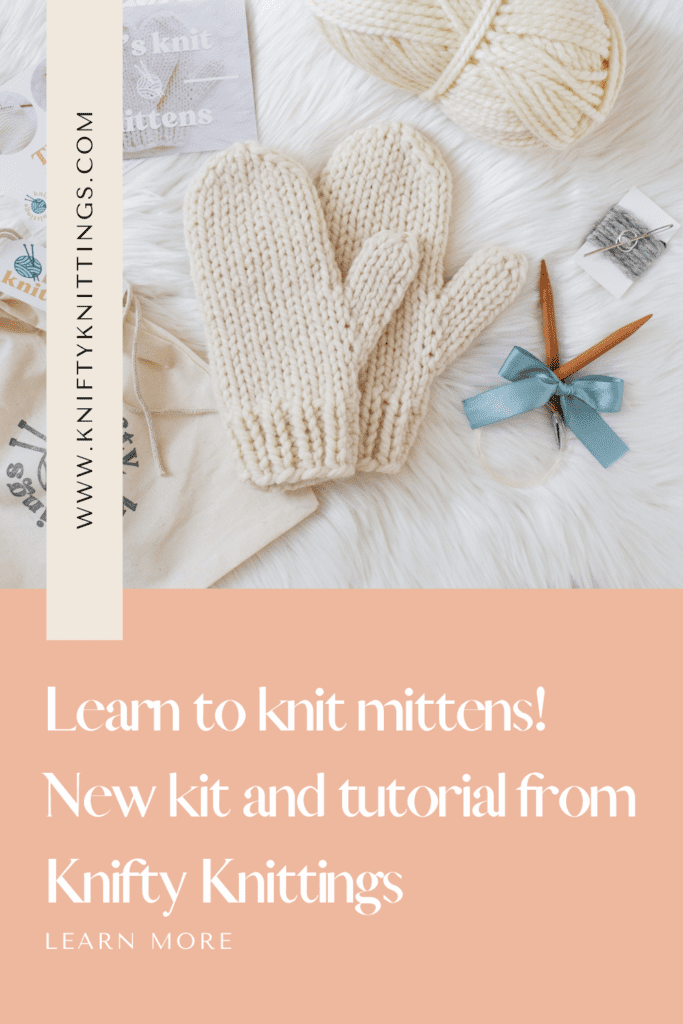
Hey friends! Who’s ready to learn how to knit mittens? 🙋‍♀️ I’ve taken my popular Magic Mittens knitting pattern and turned it into an all inclusive knitting kit geared toward beginner mitten knitters!

This curated kit includes everything you need to get started, and the video tutorials will walk you through each step on how to knit your first pair of warm chunky mittens.

This mitten knitting kit includes a curated box of tools to knit your first pair of mittens, and it includes an online video tutorial library! The video library includes 4 short videos that walk you through each step of learning how to knit mittens.

In each kit, you’ll find:

– 1 skein of Lion Brand Wool Ease Thick and Quick yarn (80% acrylic/20% wool)
– US 13/9 mm 40″ circular knitting needles
– jumbo yarn needle
– 2 stitch markers
– Scrap yarn
– Written pattern
– Video library access
– All packaged in a hand stamped project bag

This is a level 3 (intermediate) knitting kit. You should be familiar and confident with the knit and purl stitches and how to knit in the round. To brush up on the basics, check out my how to knit blog series here! Please note: the magic loop method is used to knit these mittens, but previous magic loop experience is not necessary.

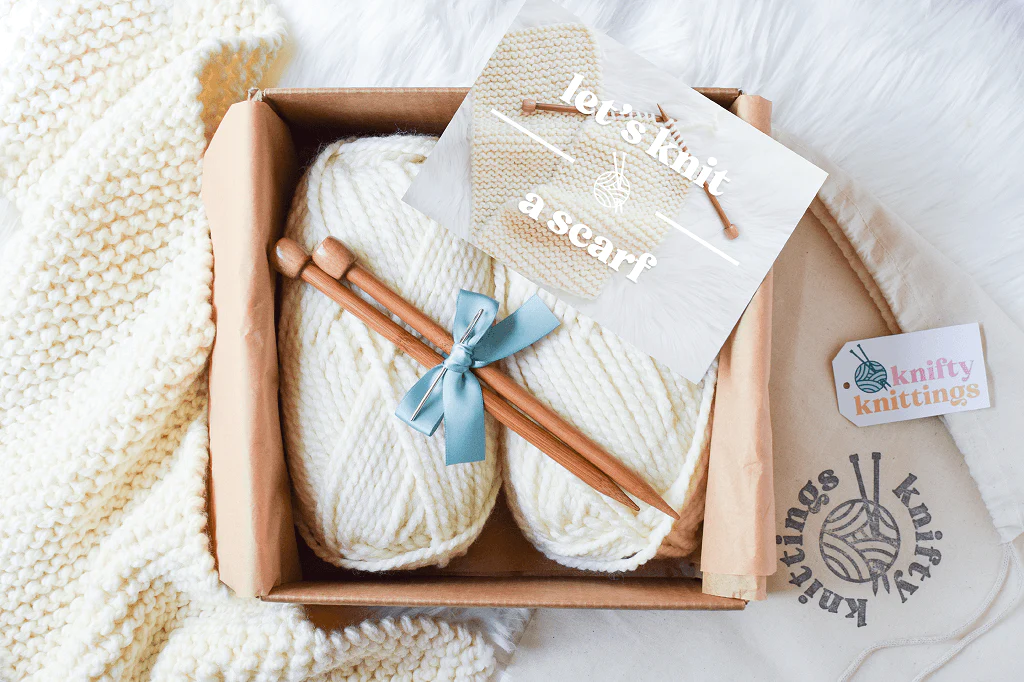
If you’d rather start with the basics, check out my level 1 (beginner) scarf kit and level 2 beanie kits here. Save 10% at checkout on two or more kits with the code BUY2ANDSAVE!

I hope you enjoy learning how to knit mittens! Feel free to share it by pinning the image below. I’d love to see your projects on Instagram! Use the #kniftyknittings hashtag and feel free to tag me @kniftyknittings.

Seed Stitch Mittens – Free Pattern

Seed Stitch Mittens - free pattern and tutorial from Knifty Knittings x Michaels! #knitting #mittens #knittingpattern #freepattern

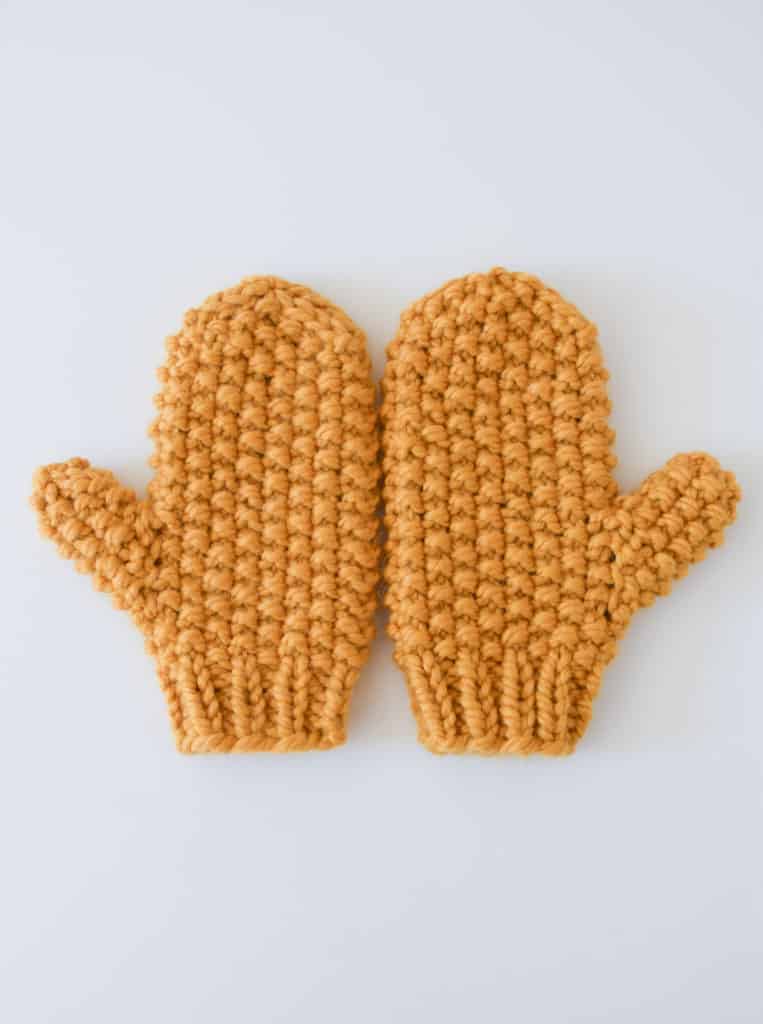
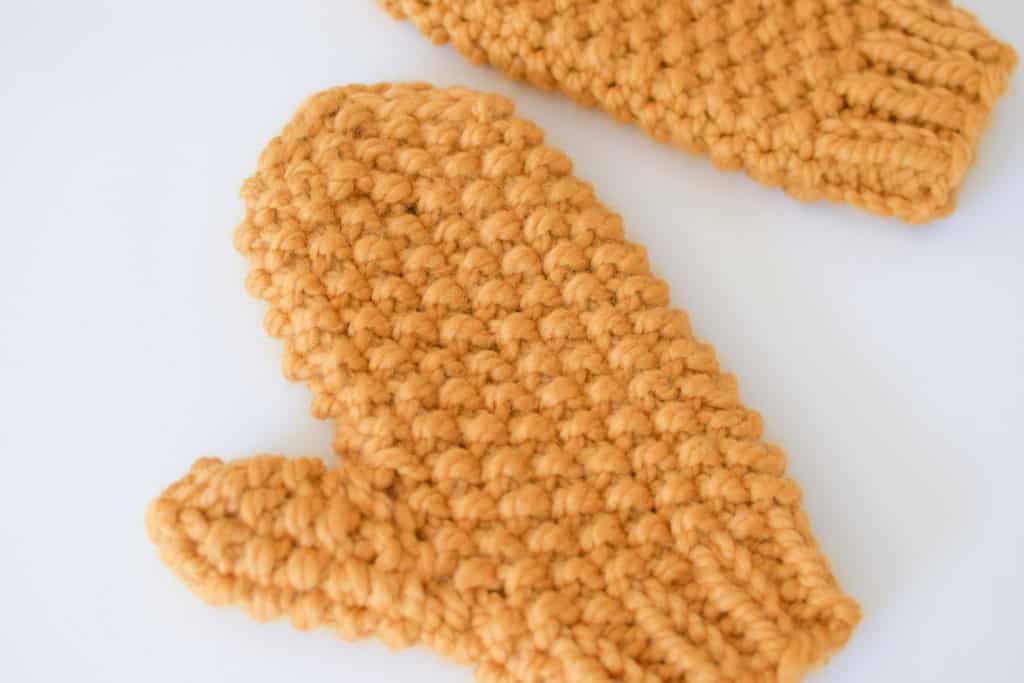
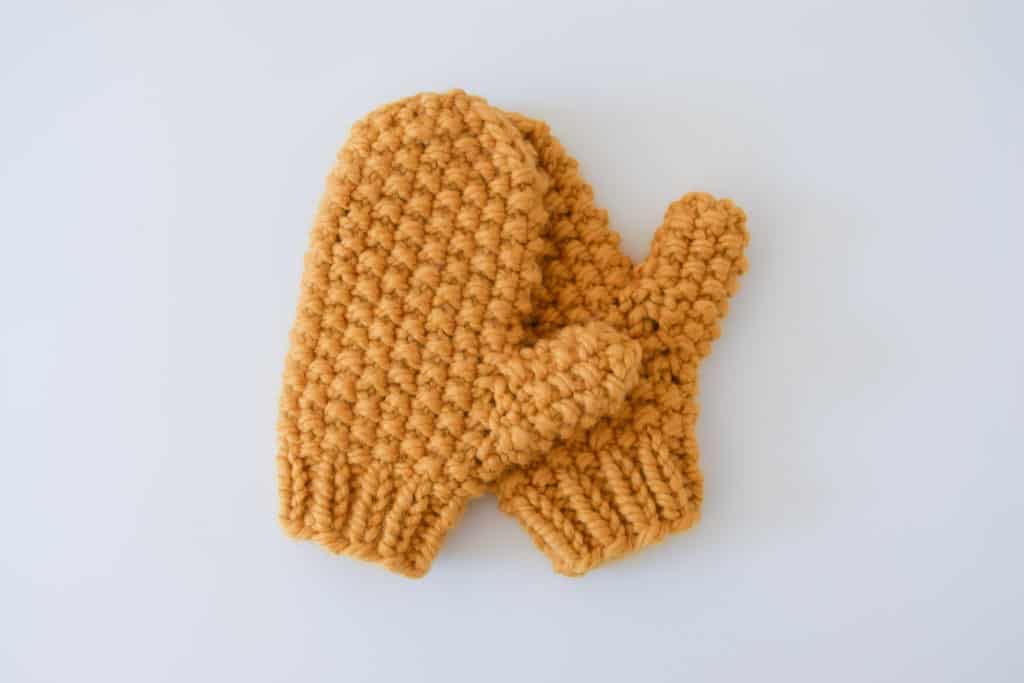
Happy #wipwednesday, friends! I’m so excited to share a new pattern and tutorial with you today, in collaboration with my friends at Michaels! Meet the Seed Stitch Mittens!

Seed Stitch Mittens - free pattern and tutorial from Knifty Knittings x Michaels! #knitting #mittens #knittingpattern #freepattern

These mittens are so quick and easy to make! They’re the perfect complement to the seed stitch hat and cowl patterns I published a few years ago, which you can find here.

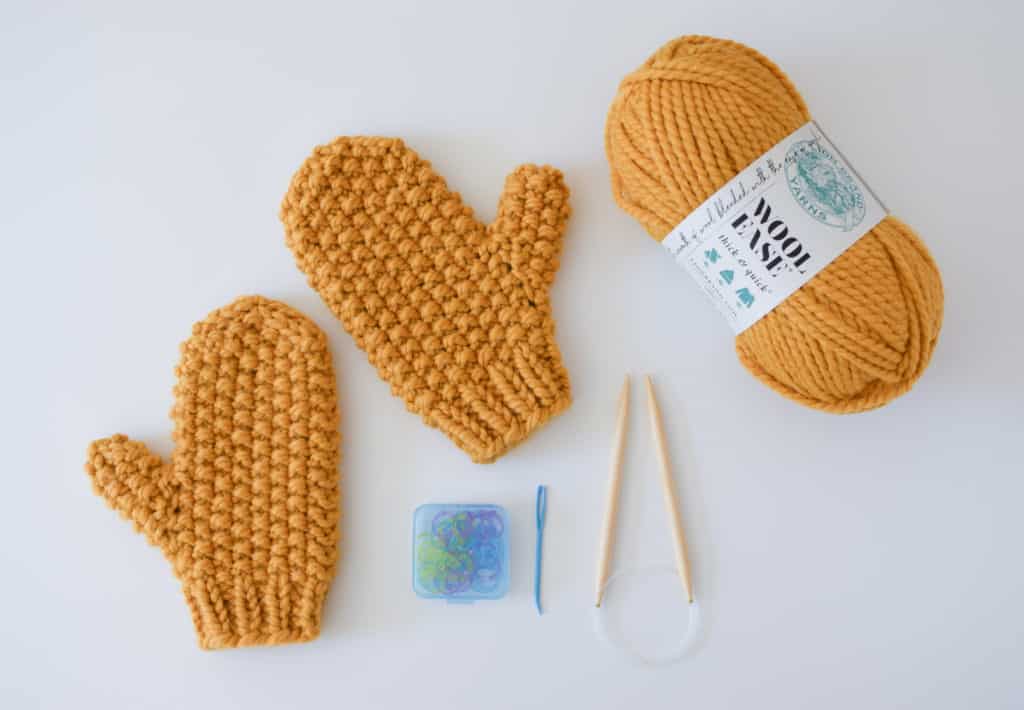
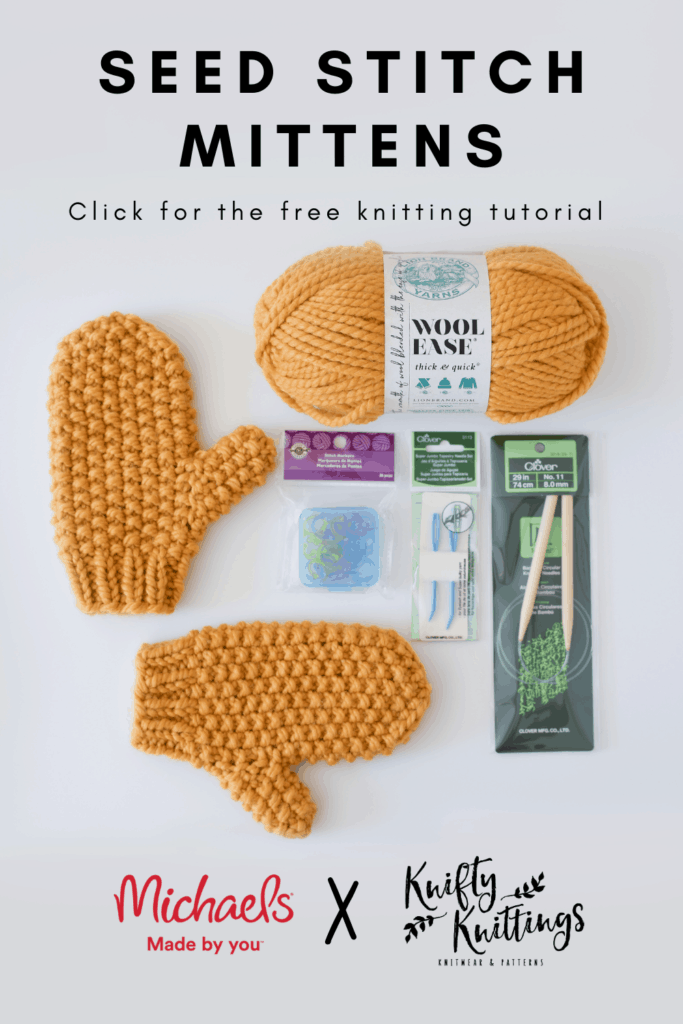
You’ll just need:

1 x skein Lion Brand Wool-Ease Thick and Quick
1 x pair of US 11/8 mm Clover bamboo 32″ circular needles
1 x set of Jumbo Locking Stitch Markers
1 x Clover Jumbo Tapestry Needle Set

You can find the full free tutorial right on Michaels Youtube channel here!

These mittens are knit in the round using the magic loop method. Increases are made for the thumb gusset, then the thumb stitches are set aside while the hand of the mitten is knitted. Later, the thumb stitches are placed back on the needles and worked in the round. You are welcome to use double pointed needles if you prefer, just remember to evenly divide the stitches over four needles.

Gauge

8.5 sts and 18 rounds = 4 in/10 cm in seed stitch

Sizes

One – Women’s medium:
8.5 in/22 cm finished circumference, unstretched

Abbreviations

CO – cast on
K – knit
K2tog – knit 2 together
M1L – make 1 left leaning increase
M1R – make 1 right leaning increase
P – purl
PM – place marker
rnd – round
SM – slip marker
Ssk – slip, slip, knit slipped sts together
st(s) – stitch(es)

Pattern

Cuff:

Please note: Double pointed needles may also be used by dividing stitches evenly over 4 needles.

Using the magic loop method, CO 18 sts with the long tail method and join in the round, being careful not to twist sts. Place a locking stitch marker to mark the beginning of the round.

Work in k1, p1 rib for 6 rounds.

Begin working in seed st (the next 2 rounds establish seed st pattern):

1st rnd: *P1, K1. Repeat from * around.

2nd rnd: *K1, P1. Repeat from * around.

Repeat rnds 1-2 once more.

Thumb Gusset:

1st rnd: [P1, K1] 4 times, PM, M1R, P1, M1L, PM, [K1, P1] 4 times, K1. (2 sts increased)

2nd rnd: [K1, P1] 4 times, SM, P1, K1, P1, SM, [P1, K1] 4 times, P1.

3rd rnd: [P1, K1] 4 times, SM, M1R, K1, P1, K1, M1L, SM, [K1, P1] 4 times, K1. (2 sts increased)

4th rnd: *K1, P1. Repeat from * around.

5th rnd: [P1, K1] 4 times, SM, M1R, [P1, K1] 2 times, P1, M1L, SM, [K1, P1] 4 times, K1. (2 sts increased)

6th rnd: [K1, P1] 4 times, SM, [P1, K1] 3 times, P1, SM, [P1, K1] 4 times, P1.

Separate thumb sts:

Next rnd: [P1, K1] 4 times, remove marker, place 7 gusset sts onto scrap yarn. Remove next marker. Cast on 1 st using the backwards loop cast on (9 sts should be on each needle). Place a locking st marker in the CO st. [K1, P1] 4 times, K1. (18 sts)

Continue working in established seed st pattern, beginning with a rnd 2 repeat, until mitten measures 8.5 in/22 cm from CO edge, ending after a rnd 1 repeat.

Decreases:

1st rnd: Ssk, [K1, P1] 2 times, K1, K2tog, Ssk, [P1, K1] 2 times, P1, K2tog. (4 sts decreased)

2nd rnd: Ssk, K1, P1, K1, K2tog, Ssk, P1, K1, P1, K2tog. (4 sts decreased)

3rd rnd: Ssk, K1, K2tog, Ssk, P1, K2tog. (4 sts decreased)

Cut yarn, leaving an 8 in tail. Weave tail through remaining 6 sts and draw to close top of mitten.

Thumb:

Place 7 sts from scrap yarn onto needles. Pick up and knit 1 st from the cast on st with the locking st marker. Rnd 1 begins after the picked up st.

1st rnd: *K1, P1. Repeat from * around.

2nd rnd: *P1, K1. Repeat from * around.

Repeat rnds 1-2 three times more.

Next rnd: *Ssk, K2tog. Repeat from * once more.    (4 sts decreased)

Cut yarn, weave tail through remaining 4 sts and draw to close top of thumb.

Turn mitten inside out, weave in all ends, and use the end from the picked up st to close the gap near the base of the thumb.

Repeat all steps for the second mitten.

Seed Stitch Mittens - free pattern and tutorial from Knifty Knittings x Michaels! #knitting #mittens #knittingpattern #freepattern

I hope you love your new mittens! Feel free to share this pattern by pinning the image below!

Seed Stitch Mittens - free pattern and tutorial from Knifty Knittings x Michaels! #knitting #mittens #knittingpattern #freepattern

Broken Rib Knit Mittens – Free Pattern

*Please note: this pattern has been updated! Find the new version in this post here.

Broken Rib Knit Mittens - free pattern from Knifty Knittings and Yarnspirations                                          #knitting #knittingpattern #yarnspirations

Ooh friends, I’m so excited to share my latest pattern with you! The temps are getting quite chilly here in Michigan, so what a perfect time to introduce the Broken Rib Knit Mittens!

Broken Rib Knit Mittens - free pattern from Knifty Knittings and Yarnspirations #knitting #knittingpattern #yarnspirations

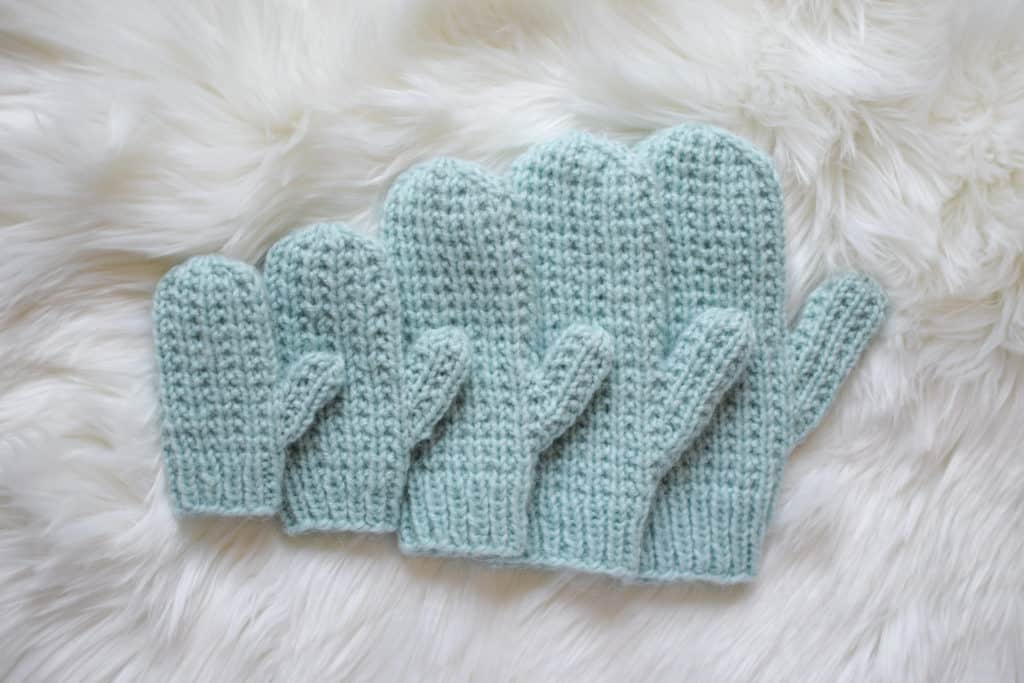
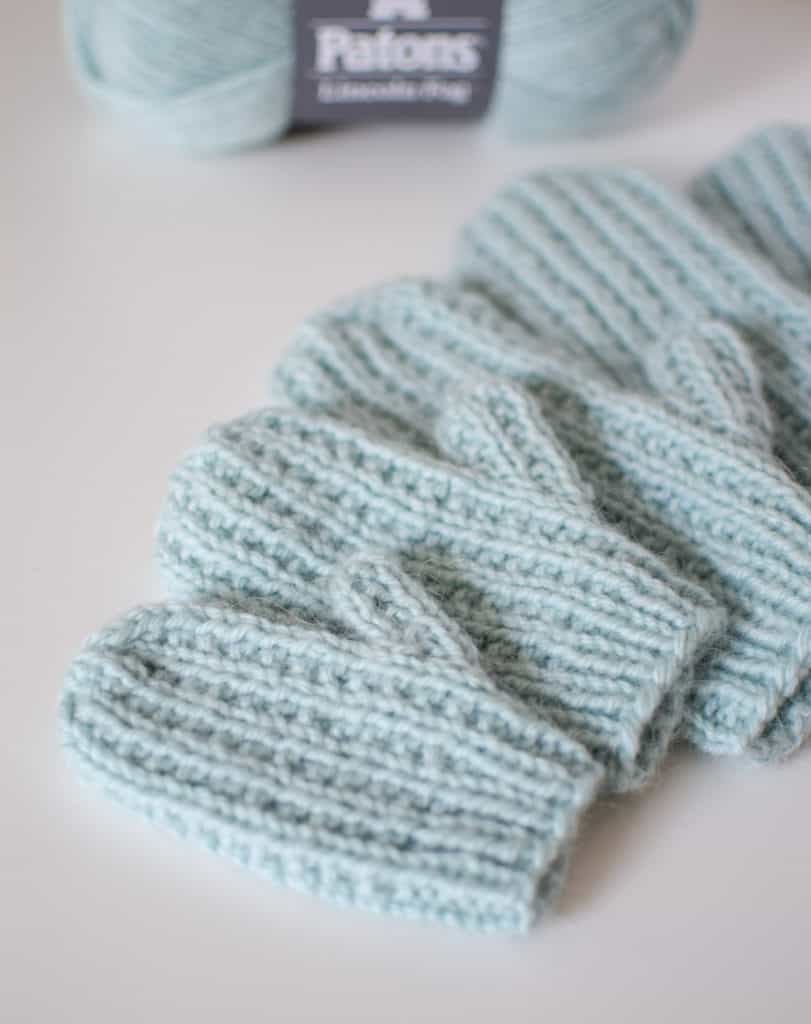
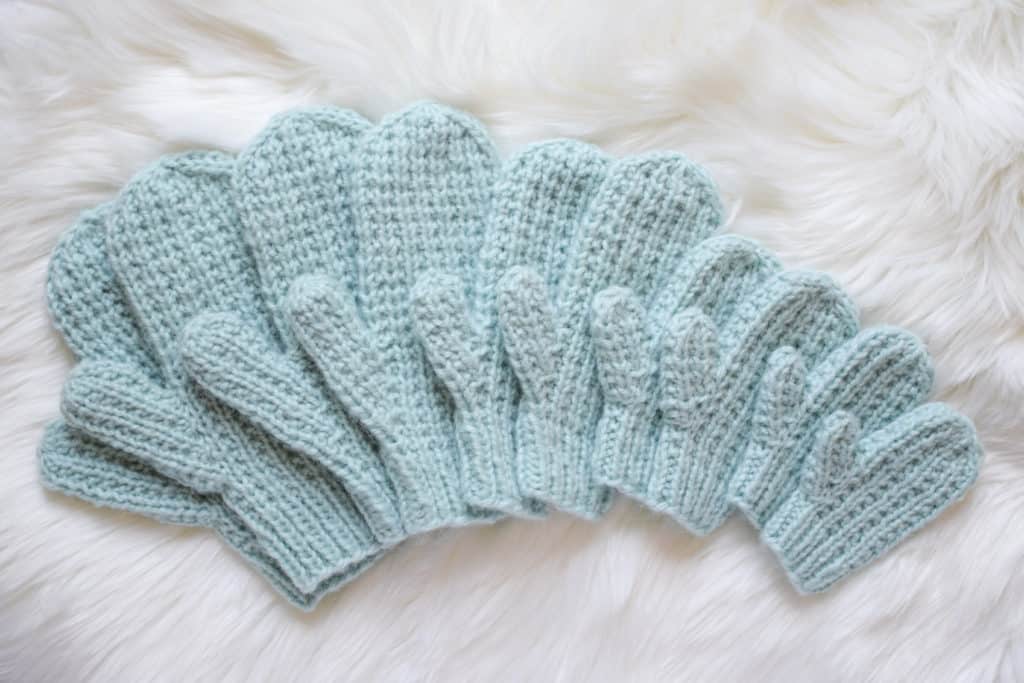
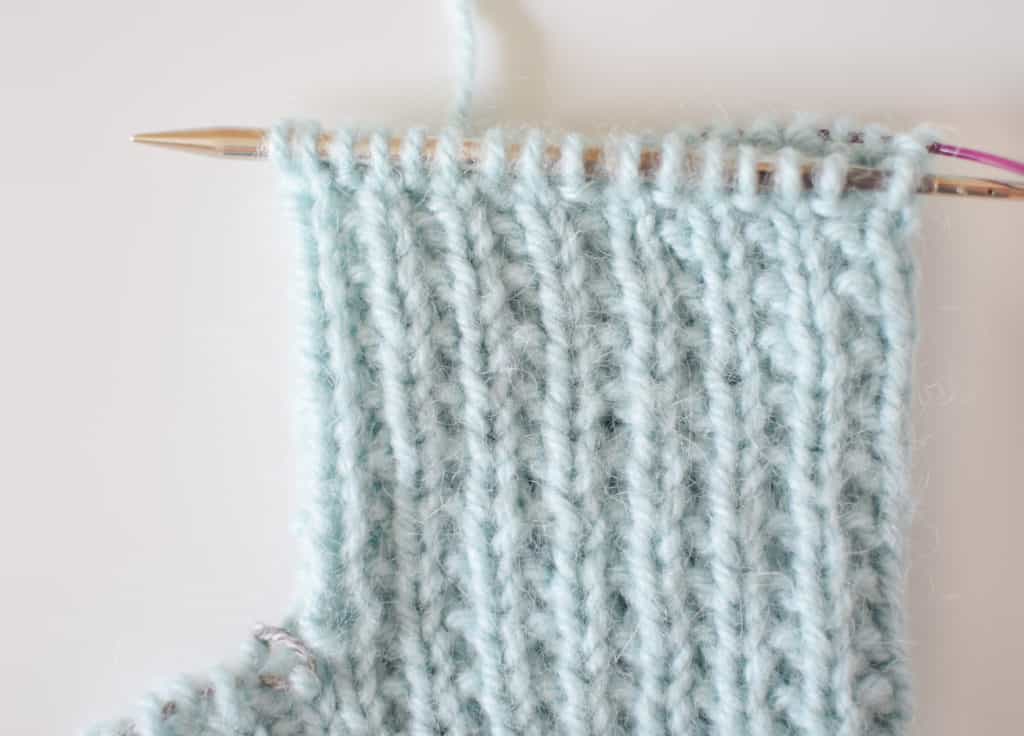
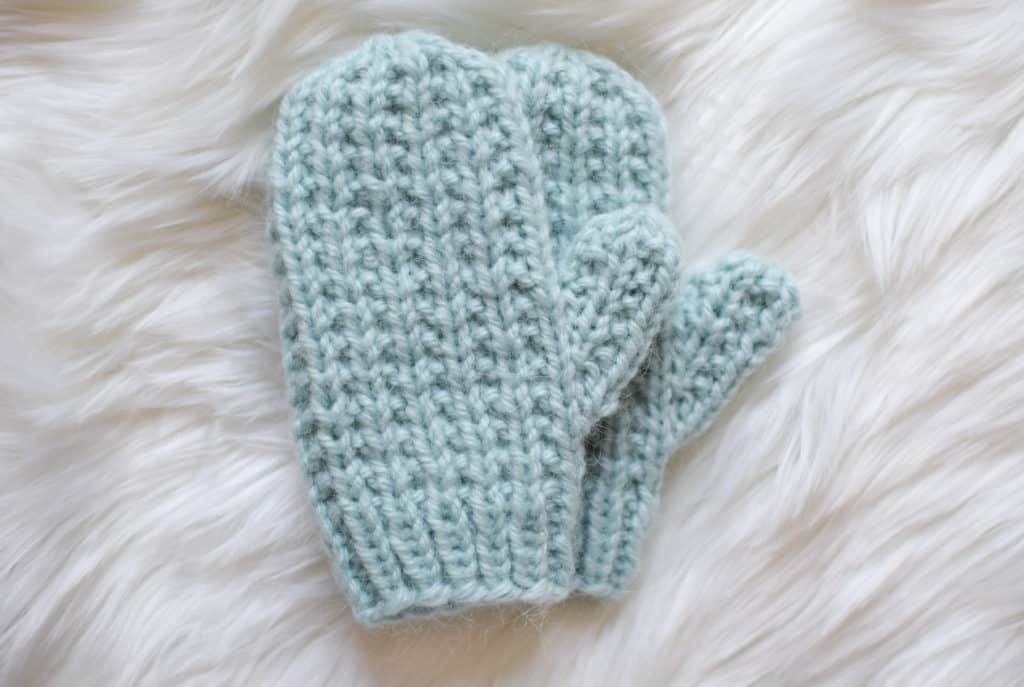
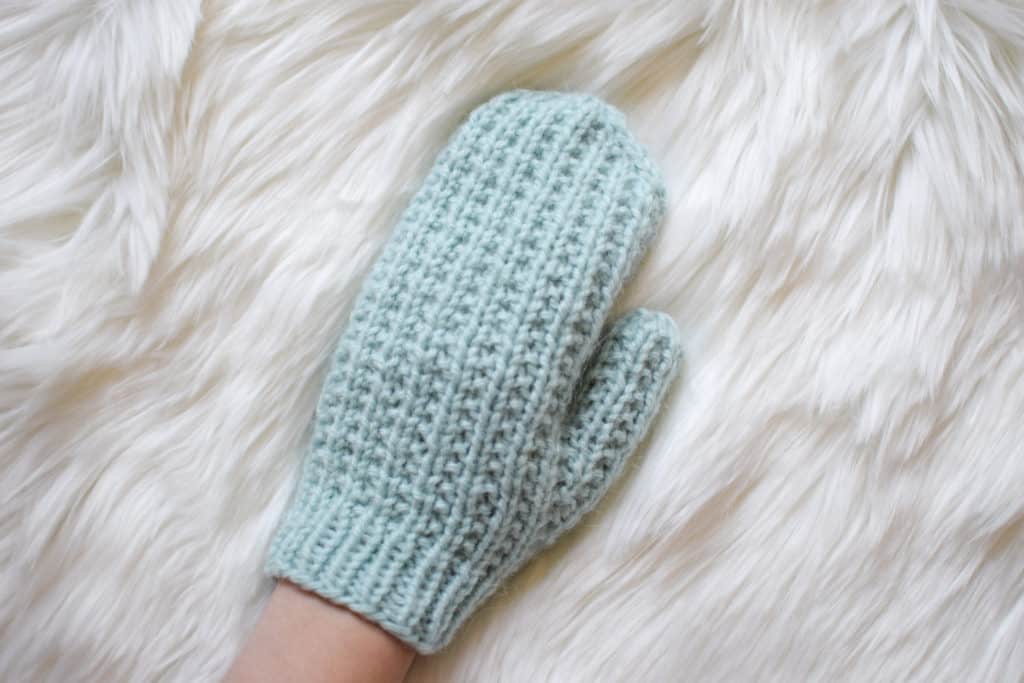
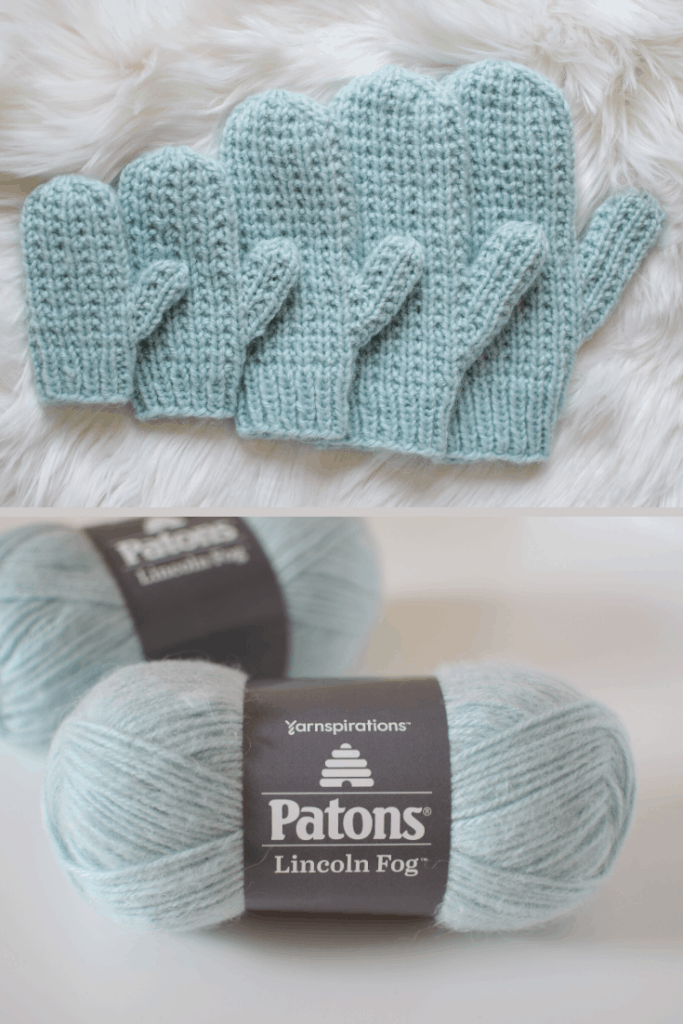
I wanted to make a mitten pattern that you could knit for any member of the family. The Broken Rib Knit Mittens is written in 5 sizes, from toddler to adult men’s! They feature a beautiful all-over broken rib pattern, which I just love.

Broken Rib Knit Mittens - free pattern from Knifty Knittings and Yarnspirations #knitting #knittingpattern #yarnspirations

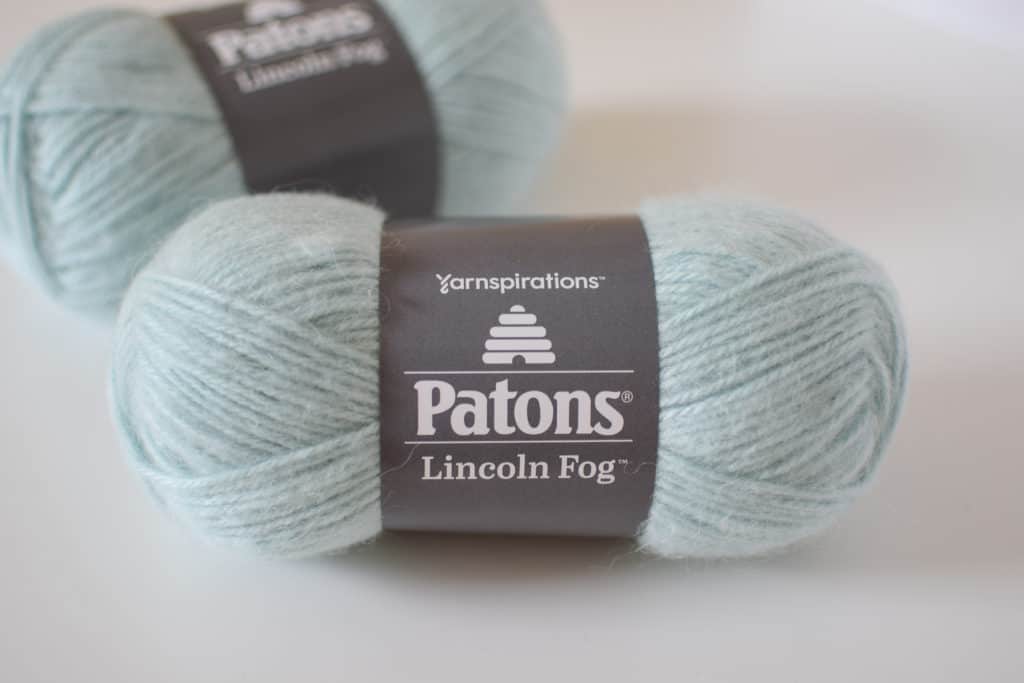
Can we talk about this yarn, though? It uses Yarnspiration’s brand spankin new yarn called Patons Lincoln Fog! It’s a wool, acrylic and lincoln yarn blend with an almost mohair look and a super soft halo.

Broken Rib Knit Mittens - free pattern from Knifty Knittings and Yarnspirations #knitting #knittingpattern #yarnspirations

You will only need one skein for any of the five mitten sizes. You can find Lincoln Fog and the full free pattern PDF here. (Find the updated pattern here!)

Broken Rib Knit Mittens - free pattern from Knifty Knittings and Yarnspirations #knitting #knittingpattern #yarnspirations

This pattern uses the magic loop method, which is my favorite method for small circumference knitting. You could also knit these mittens with double pointed needles if you’d prefer.

Broken Rib Knit Mittens - free pattern from Knifty Knittings and Yarnspirations #knitting #knittingpattern #yarnspirations

I mean, how cute are these little toddler mitts?

Broken Rib Knit Mittens - free pattern from Knifty Knittings and Yarnspirations #knitting #knittingpattern #yarnspirations

Feel free to share with your friends, pin the image below!

Broken Rib Knit Mittens - free pattern from Knifty Knittings and Yarnspirations #knitting #knittingpattern #yarnspirations

Copyright © 2024 · Theme by 17th Avenue