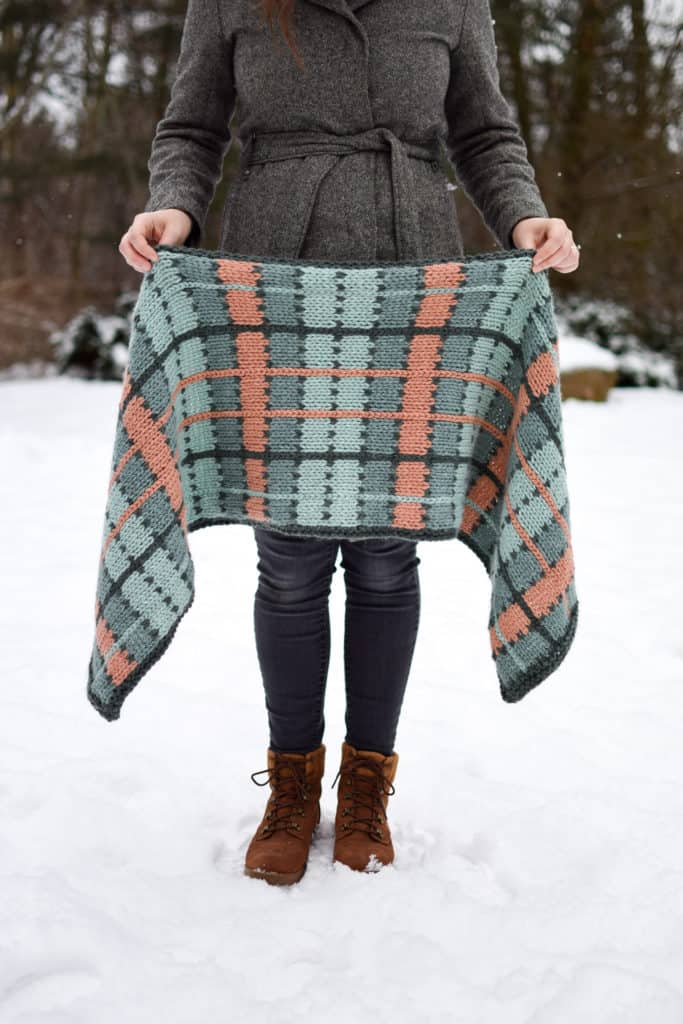
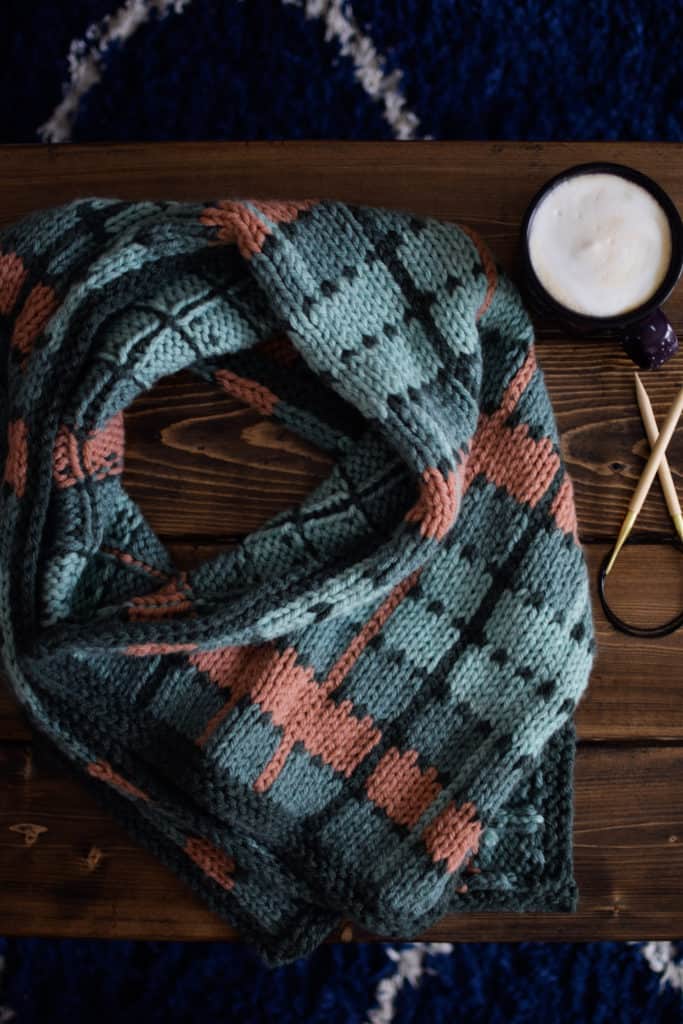
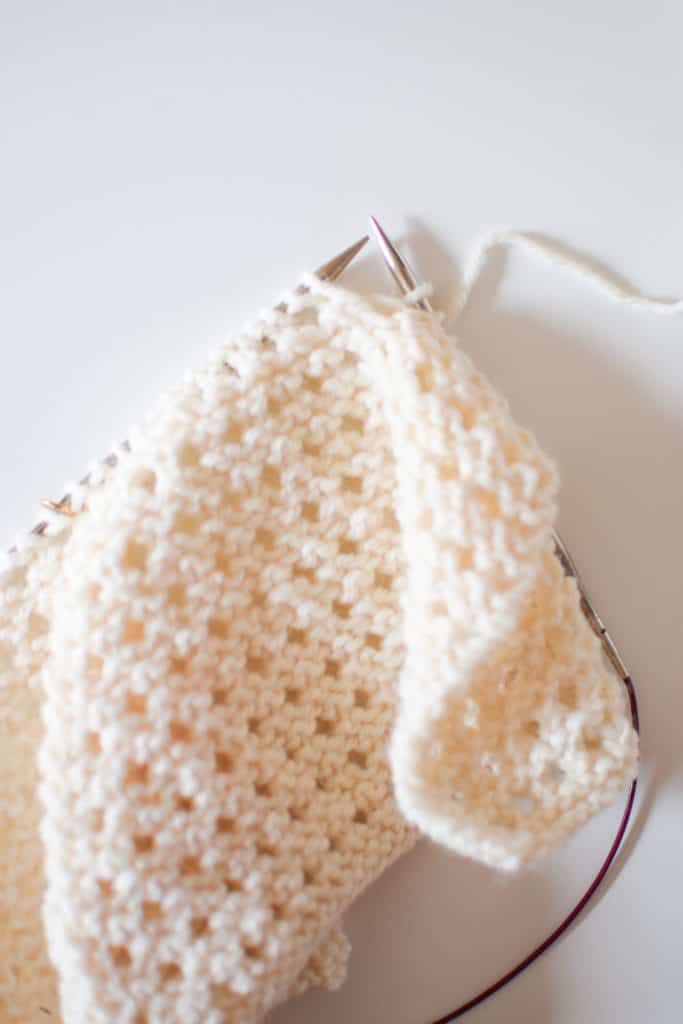
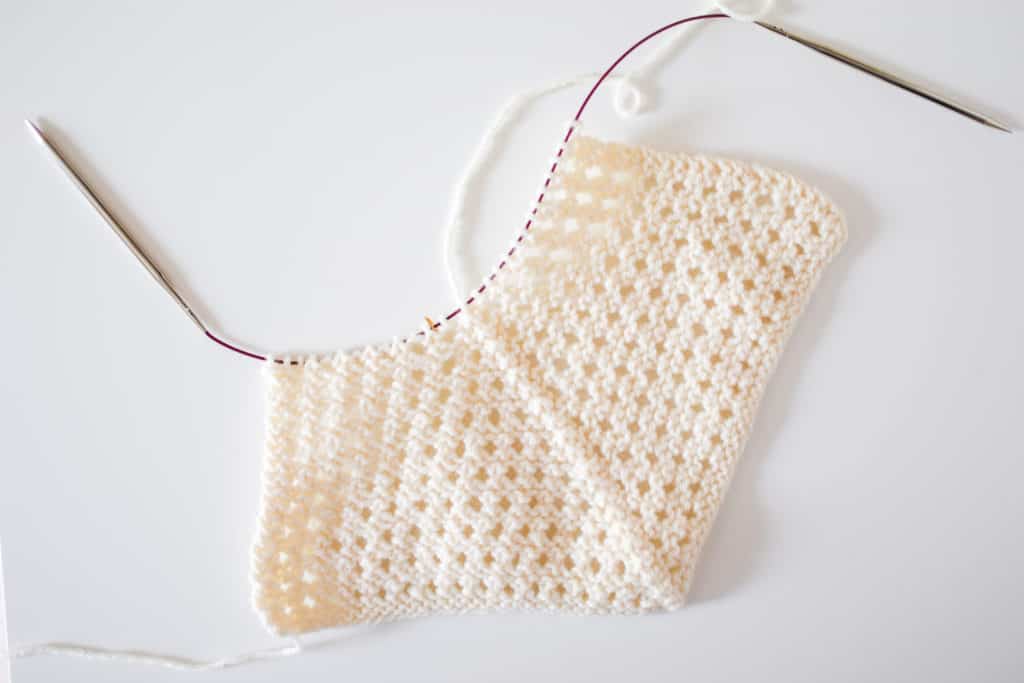
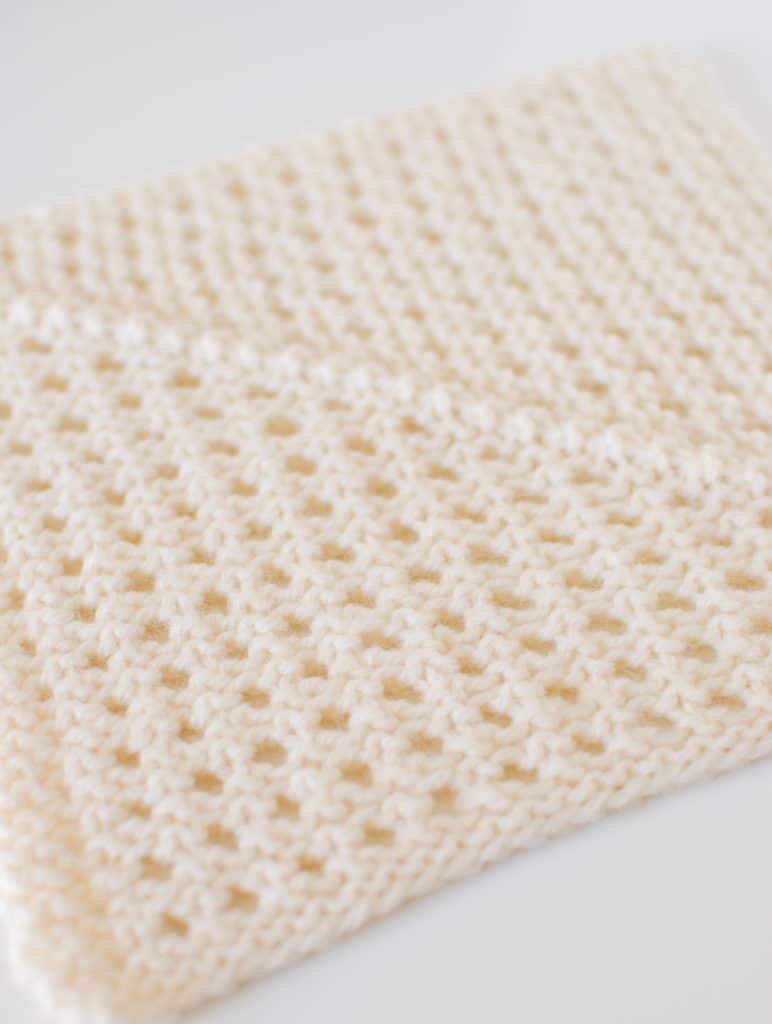
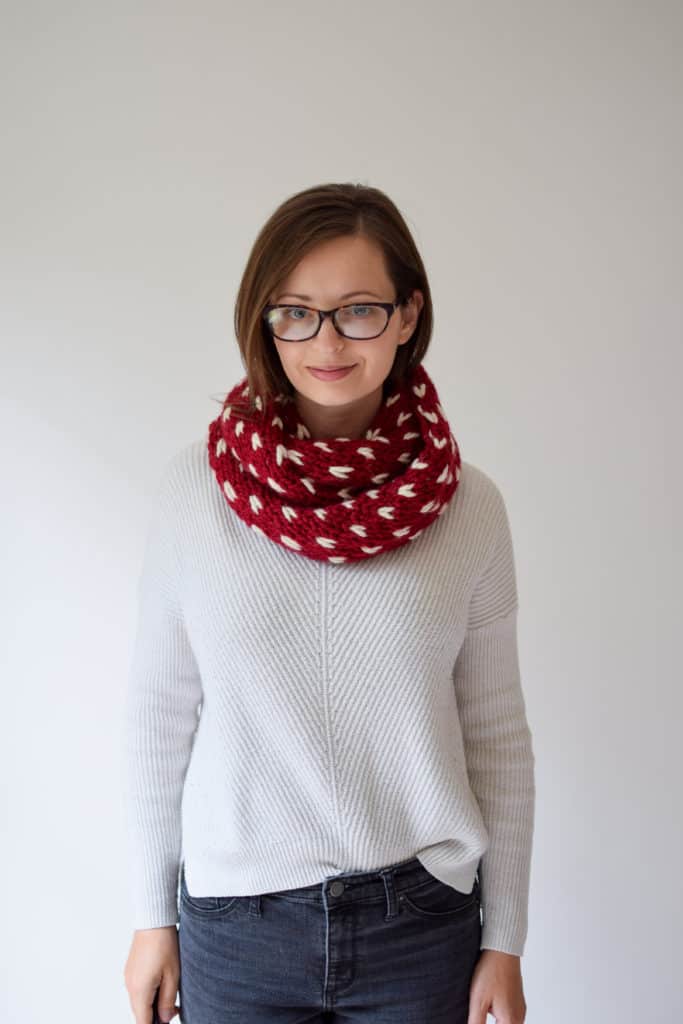
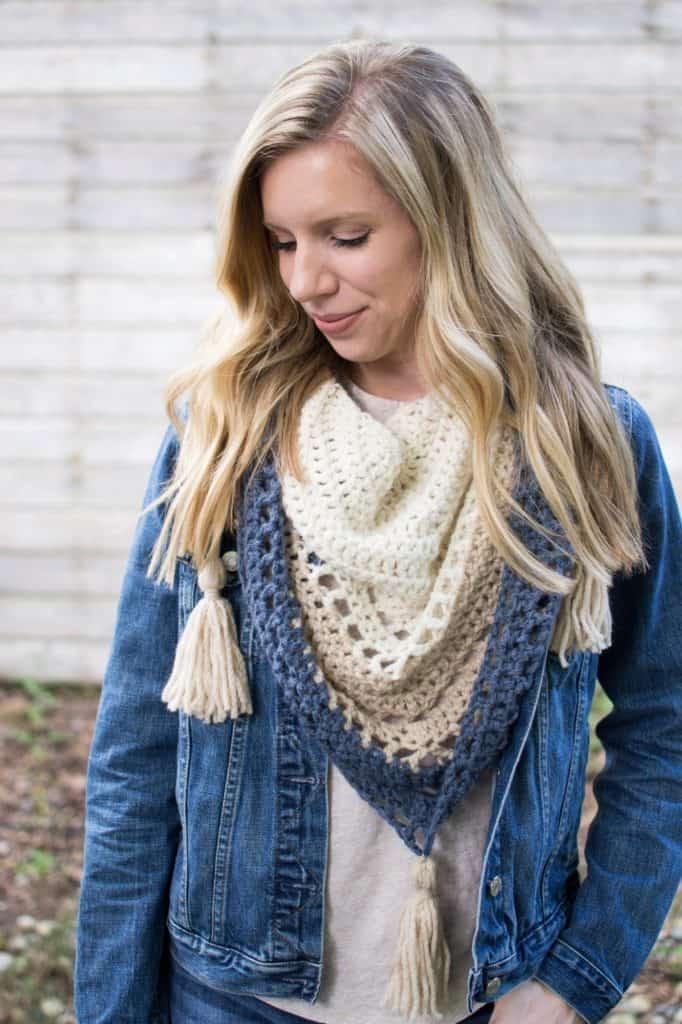
Looking for a quick and relaxing knitting project that’s both stylish and enjoyable to knit? My Triangle Tassel Scarf Knitting Kit is just for you! This kit builds on one of my classic, well-loved patterns and includes everything necessary to craft a cozy triangle-shaped scarf. Worked sideways from end to end with super bulky yarn, it’s a delight both to knit and to wear.
What’s Included in the Kit?
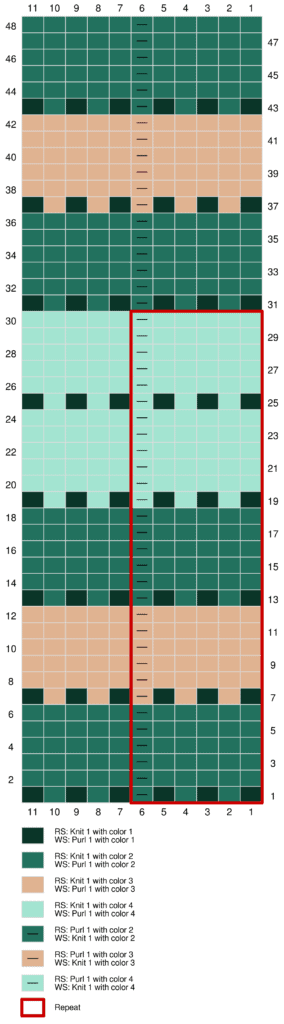
Not only does the kit provide all the materials, but it also includes an exclusive full video tutorial that walks you through every step. Additionally, the video is available only with the kit, offering tips and tricks to make the process even easier. Whether you’re new to knitting or an experienced crafter, this tutorial will ensure you complete the scarf with confidence. If you’re a new knitter, make sure you already know how to do the knit stitch. You can easily refresh those skills in my Learn to Knit section!
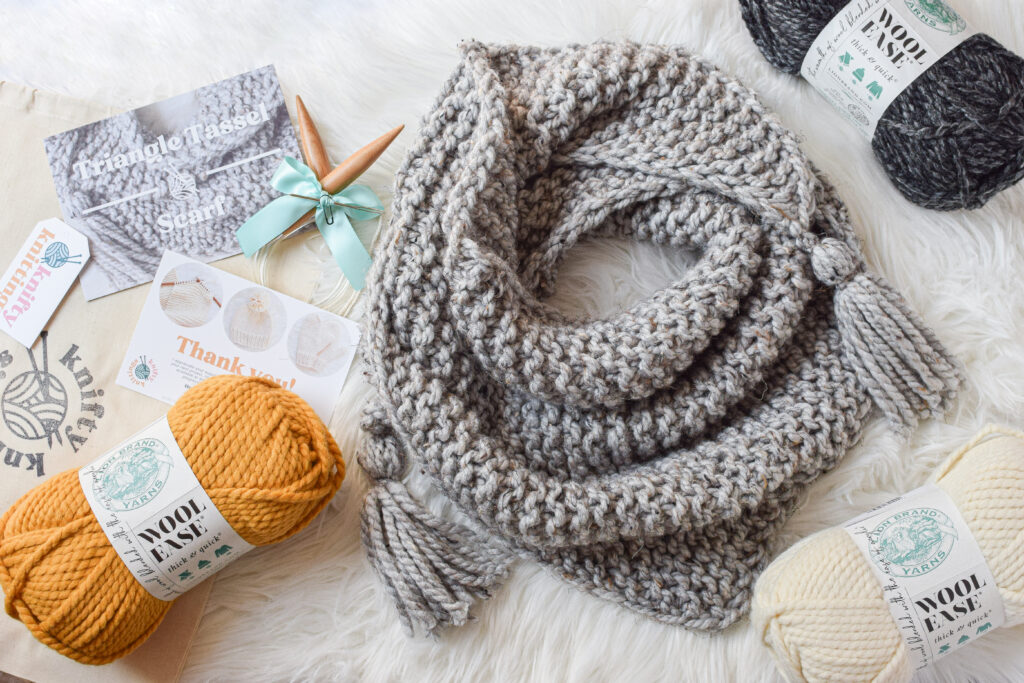
In each kit, you’ll find:
- 2 skeins of yarn
- Knitting needles
- Stitch marker
- Yarn needle (for weaving in ends)
- Written pattern
- Video tutorial
- Hand-stamped project bag

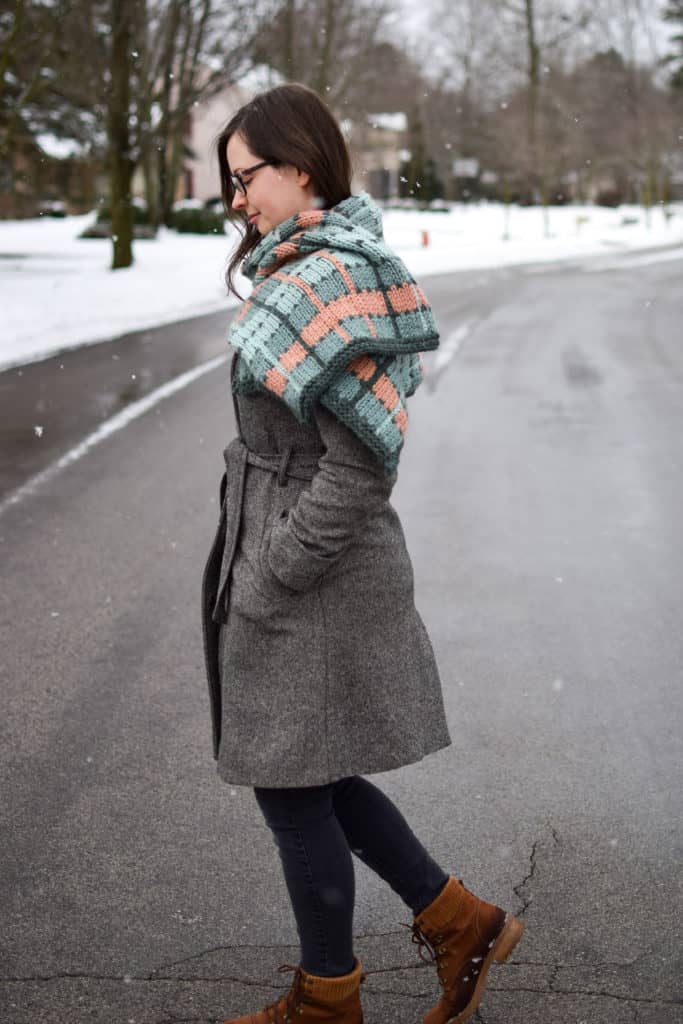
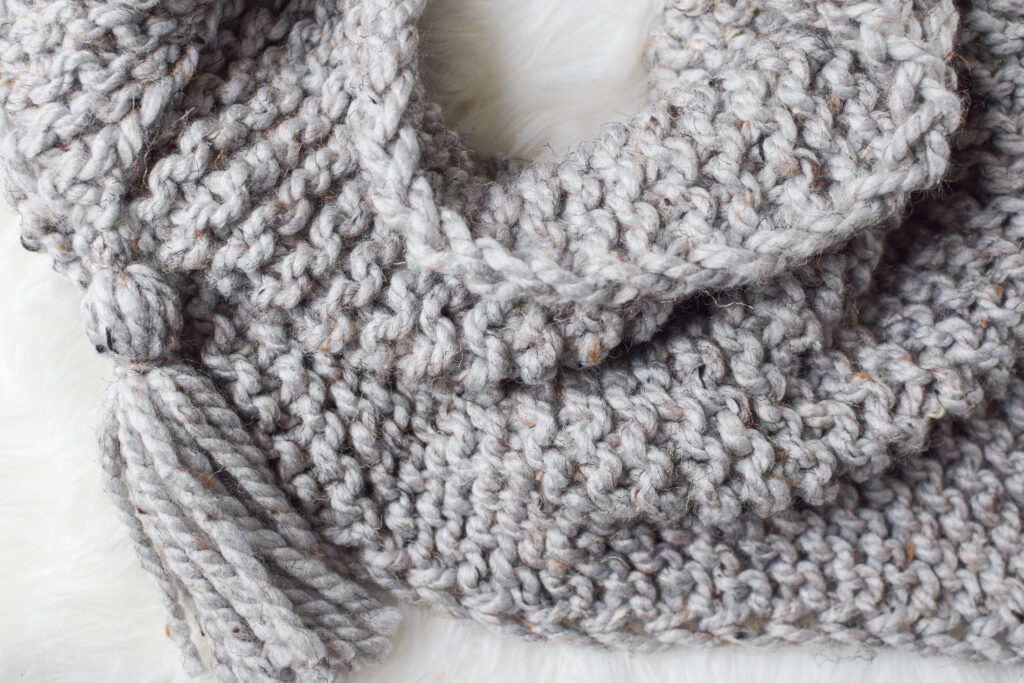
Why You’ll Love the Triangle Tassel Scarf
This cozy accessory is perfect for cold weather. The super bulky yarn and simple garter stitch make the project both quick and relaxing to knit. In short, the finished scarf is warm, stylish, and versatile. With its triangle shape and playful tassels, the Triangle Tassel Scarf adds a touch of fun to any outfit. Whether you’re wrapping it around yourself on a cool evening or wearing it to complete a casual look, it’s bound to become a favorite piece in your wardrobe.
Ready to Knit Your New Favorite Scarf?
Don’t miss out on this exciting new kit! Grab the Triangle Tassel Scarf Knitting Kit today and enjoy a fun, relaxing knitting experience with my exclusive video tutorial. Visit the links below to purchase your Triangle Tassel Scarf Kit or pattern today!ngle Tassel Scarf Kit or pattern today!