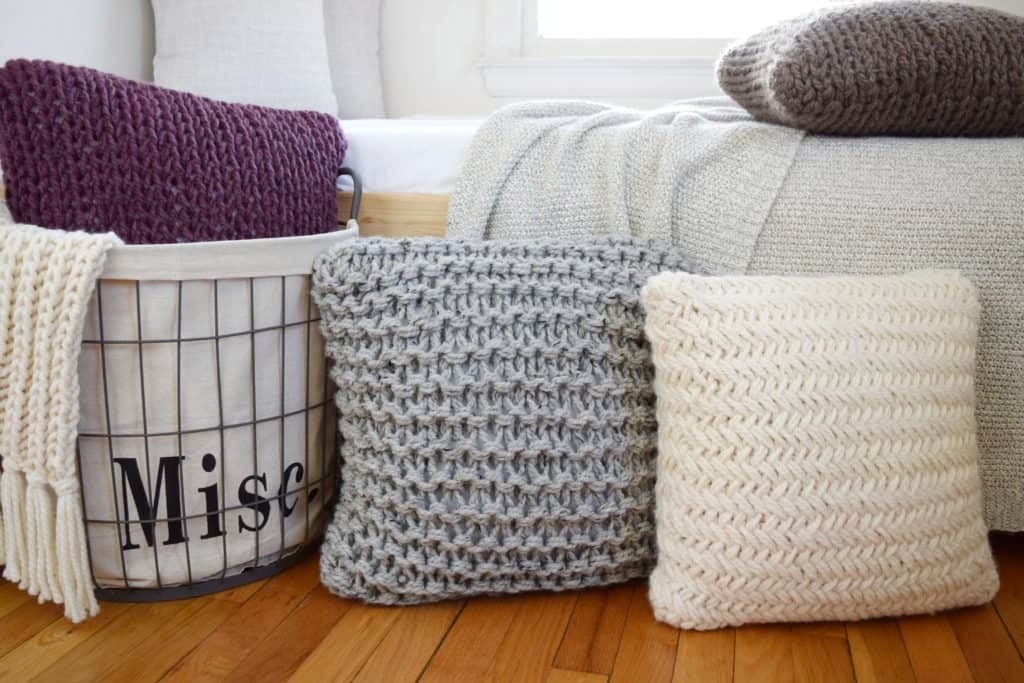
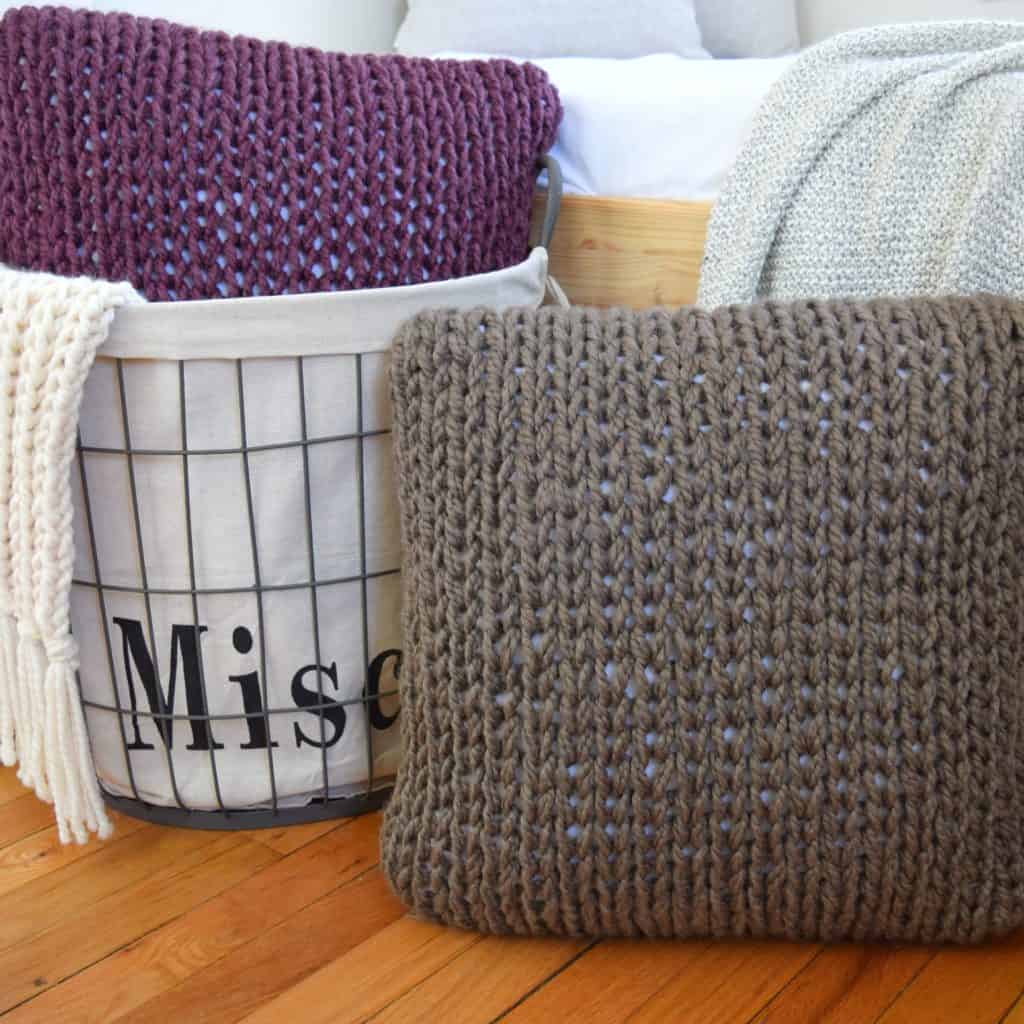
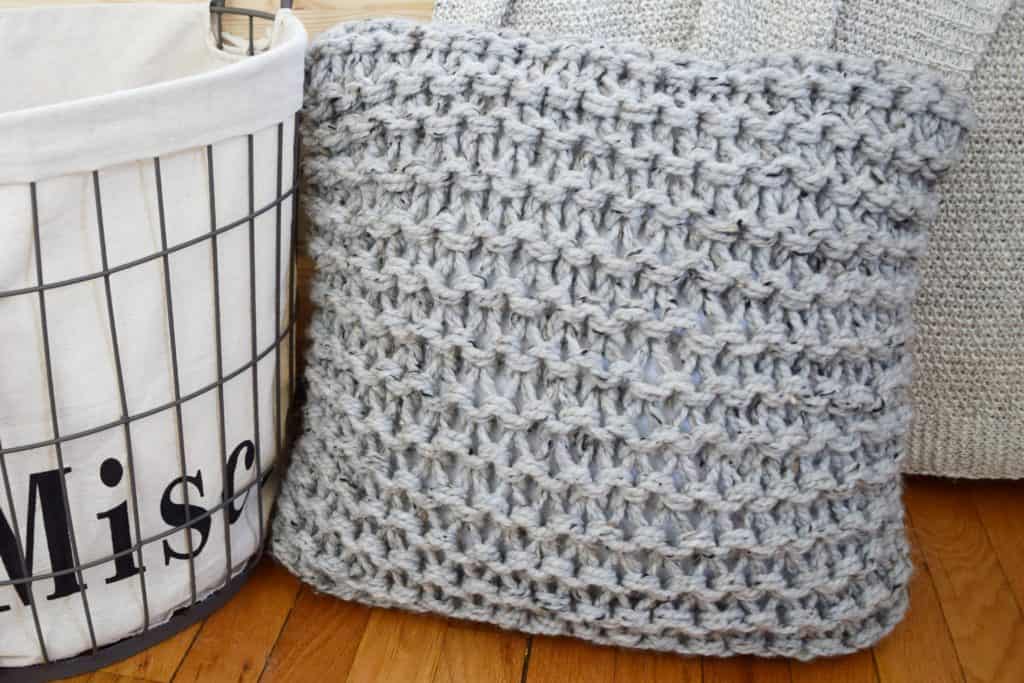
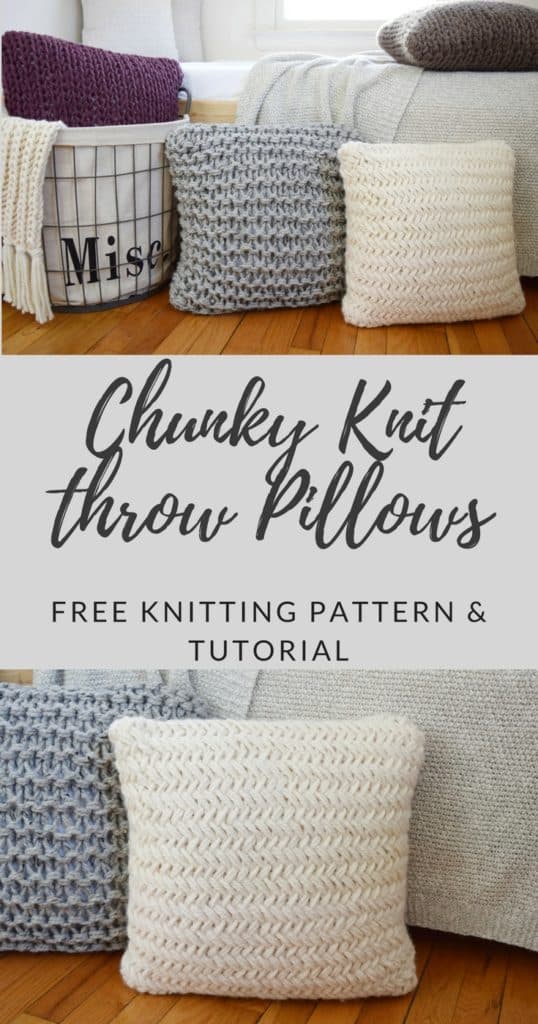
Chunky Throw Pillow Set
Hey knitters! I’m excited to share my new chunky throw pillow set with you! These were inspired by those super cute, super chunky knit pillows from Target – you know, the ones we see and think to ourselves “I could totally knit that”. Well, now you can!
I wanted some throw pillows that had several different textures for the daybed in my office, so I came up with 3 simple designs – each varying in difficulty level.
Not into purling? The Stockinette pillow would be perfect for you! Want a little more texture or a new challenge? Try the Garter or Herringbone pillows!
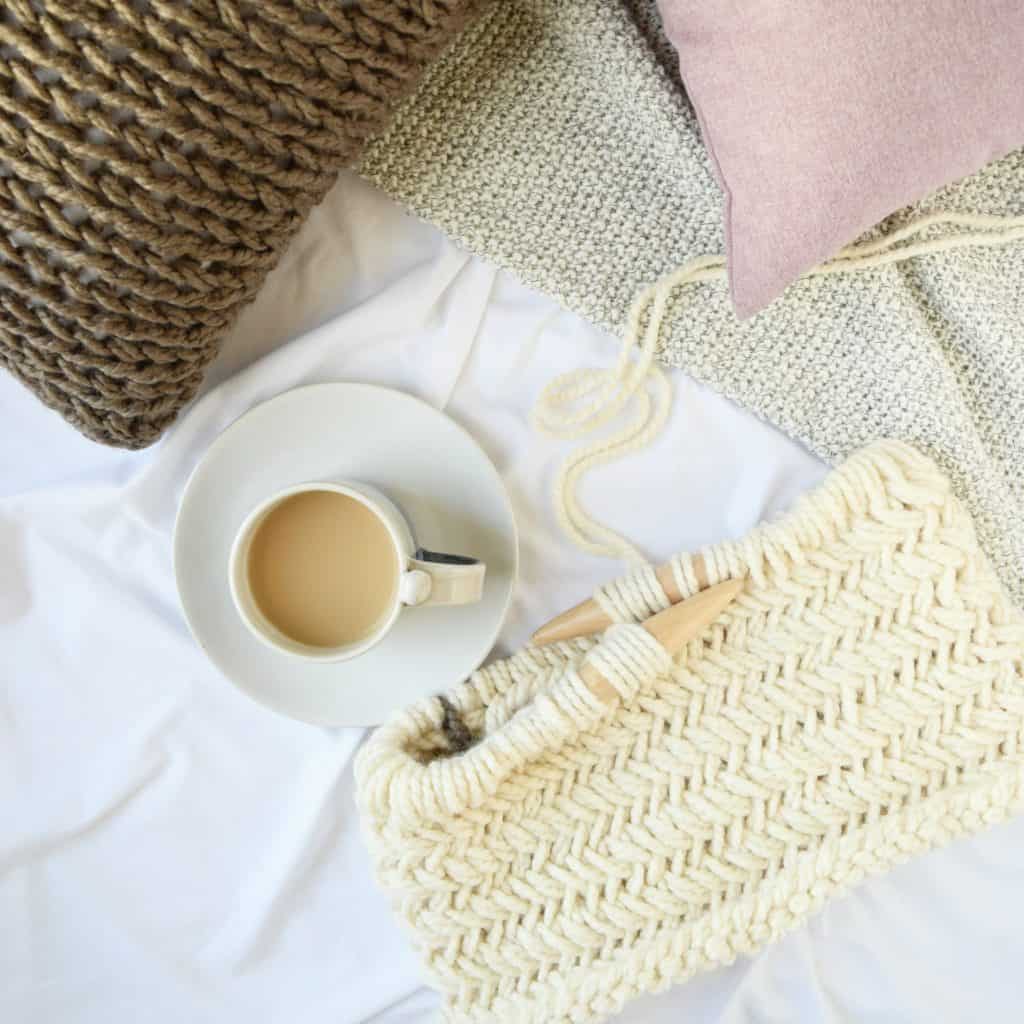
These pillows knit up in almost no time at all. They are knit in the round, with two strands of yarn held together as one, then the open edges are seamed together.
I’ve included two video tutorials – one to walk you through how to knit Herringbone stitch in the round, and one that demonstrates how to seam the pillows.
Add it to your Ravelry queue for later here!
Here’s what you’ll need..
Yarn
Lion Brand Wool-Ease Thick & Quick
Stockinette pillow: 216 yds/198 m
Garter pillow: 300 yds/275 m
Herringbone pillow: 370 yds/339 m
Needles
US 50/25.0 mm 32 in circular needles
Notions
Large eye yarn needle for seaming and weaving in ends
18 in pillow forms
Gauge
Stockinette: 4 ½ sts and 5 rows = 4 in/10 cm
Garter: 4 sts and 5 rows = 4 in/10 cm
Herringbone: 7 sts and 5 ½ rows = 4 in/10 cm
Size
18 in x 18 in square – 36 in circumference
Abbreviations
CO – cast on
k – knit
k2tog – knit 2 stitches together
p – purl
pm – place marker
sl1p – slip 1 purlwise
st(s) – stitch(es)
ttbl – through the back loop
Pattern
Stockinette pillow:
Using 2 strands of yarn held double and a tail approximately 7 ft long, loosely CO 40 sts using the long tail method. Pm and join in the round, taking care not to twist sts.
Pro tip: If you double the length of your tail (make it 14 ft long), you’ll have enough for the cast on AND to seam it closed at the end. Less ends to weave in! You can tie the extra length into a small bow to keep it out of your way until you need it.
Round 1: Knit around
Repeat round 1 until pillow measures 18 in from the cast on edge.
Bind off all stitches. Cut yarn, leaving a tail approximately 7 ft long. Continue to seaming instructions.
Garter stitch pillow:
Using 2 strands of yarn held double and a tail approximately 7 ft long, loosely CO 40 sts using the long tail method. Pm and join in the round, taking care not to twist sts.
Round 1: Purl around
Round 2: Knit around
Repeat rounds 1 and 2 until pillow measures 18 in from the cast on edge, ending after a purl round.
Bind off all stitches. Cut yarn, leaving a tail approximately 7 ft long. Continue to seaming instructions.
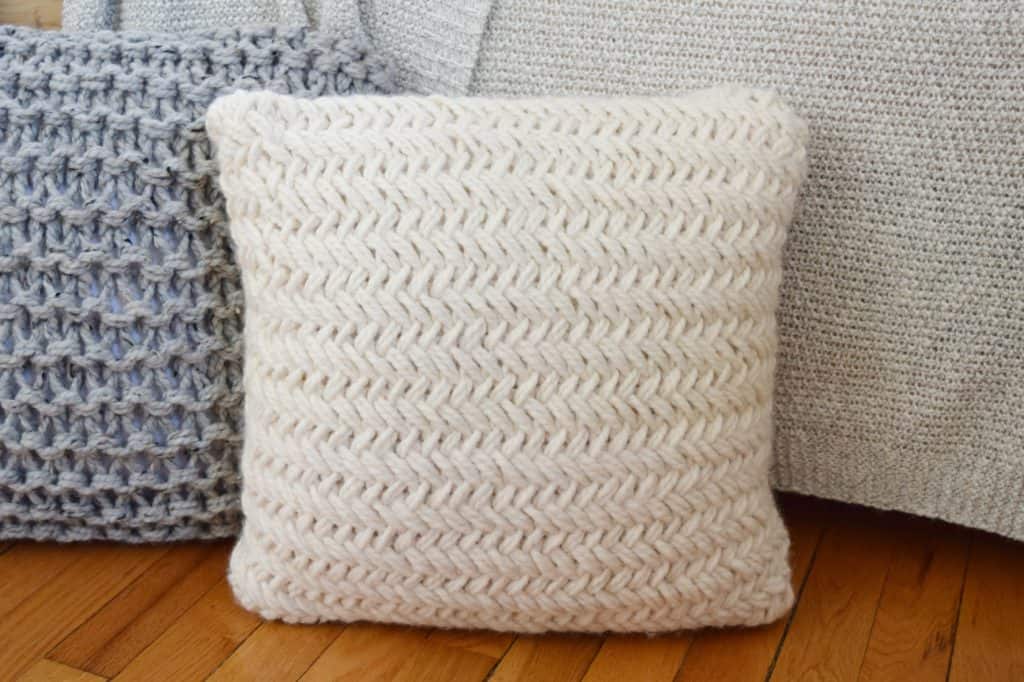
Herringbone pillow (see video):
Using 2 strands of yarn held double and a tail approximately 10 ft long, loosely CO 66 sts using the long tail method.
To join in the round, transfer the last CO st from the right needle to the left needle (purlwise), and pm.
Round 1: *k2tog, leaving the second st on the left needle (see video). Repeat from * until 1 st remains.
Setup for next round: Sl last st from round 1 purlwise from left needle to right needle, remove marker, sl last st on right needle back to left needle, pm. K2tog, leaving second st on left needle. Twist the next st, and begin round 2.
Round 2: *k2tog ttbl, leaving the second st on the left needle. Repeat from * until 1 st remains.
Setup for next round: Sl last st from round 2 purlwise from left needle to right needle, remove marker, sl last st on right needle back to left needle, pm. K2tog ttbl, leaving second st on left needle. Twist the next st, and begin repeat of round 1.
Repeat rounds 1 and 2 until pillow measures 18 in from the cast on edge, ending after a round 2 repeat.
Bind off: k2tog ttbl, leaving the second st on the left needle. *k2tog ttbl once more, leaving the second st on the left needle. Pass the 1st st on the right needle over the 2nd to bind off.
Repeat from * until last st. k1, and pass the 1st st over the 2nd. Cut yarn, leaving a 10 ft tail for seaming, and draw tail through remaining st. Continue to seaming instructions
Seaming (see video):
Thread a large eye yarn needle with two strands of yarn. Fold the bound off edge in half. Starting at the back edge, insert the needle under both strands of a knit V stitch next to the bound off edge.
Next, insert the needle under both strands of the corresponding st from the front edge (the upside-down V).
Continue seaming until all edge sts are seamed. Weave yarn tail around several sts, trim and tuck inside the pillow.
Insert pillow form, and seam the cast on edge sts in the same manner.
And that’s all there is to it! Which pillow style will you be casting on? Feel free to share this with your friends – pin the image below!


Hello, nice pillows ! Bu I watched your video on seaming the pillow cover and I was wondering how I can wash it since the 4 sides are seamed ?
Thank you.
Evelyn
Hi Evelyn, I would spot clean only. Happy knitting!